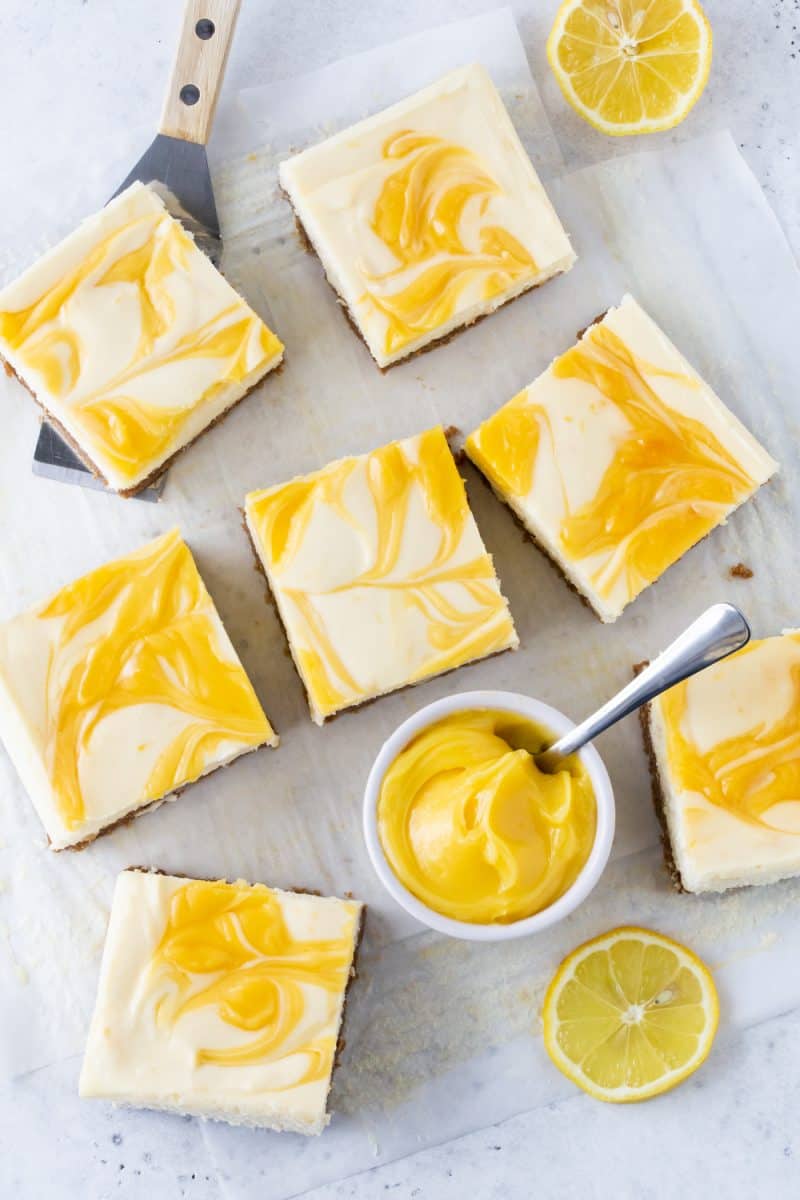
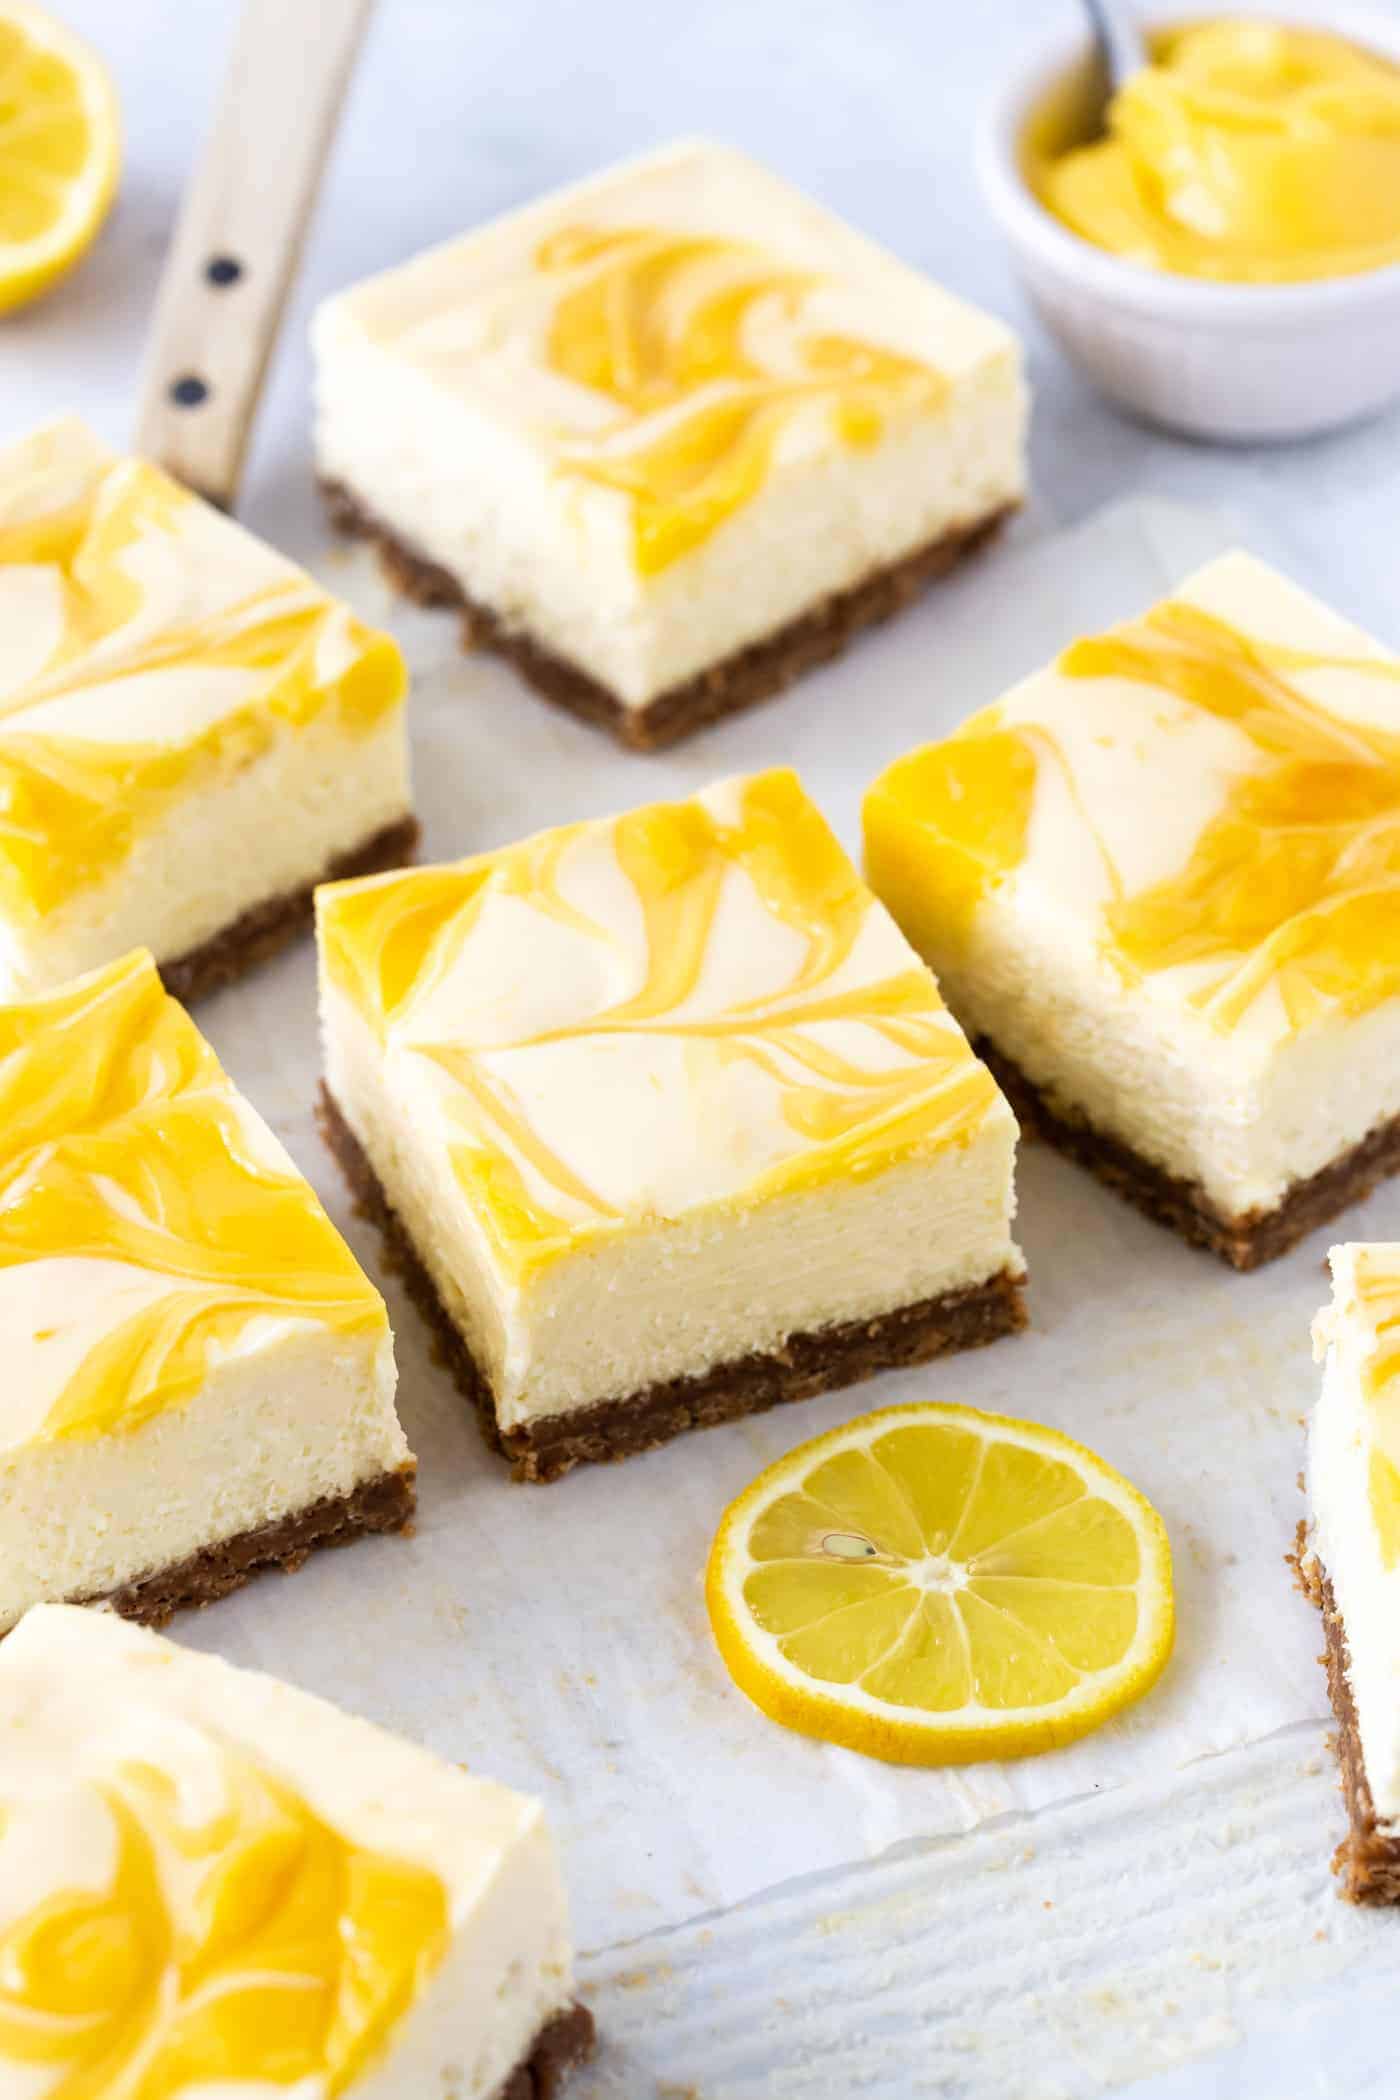
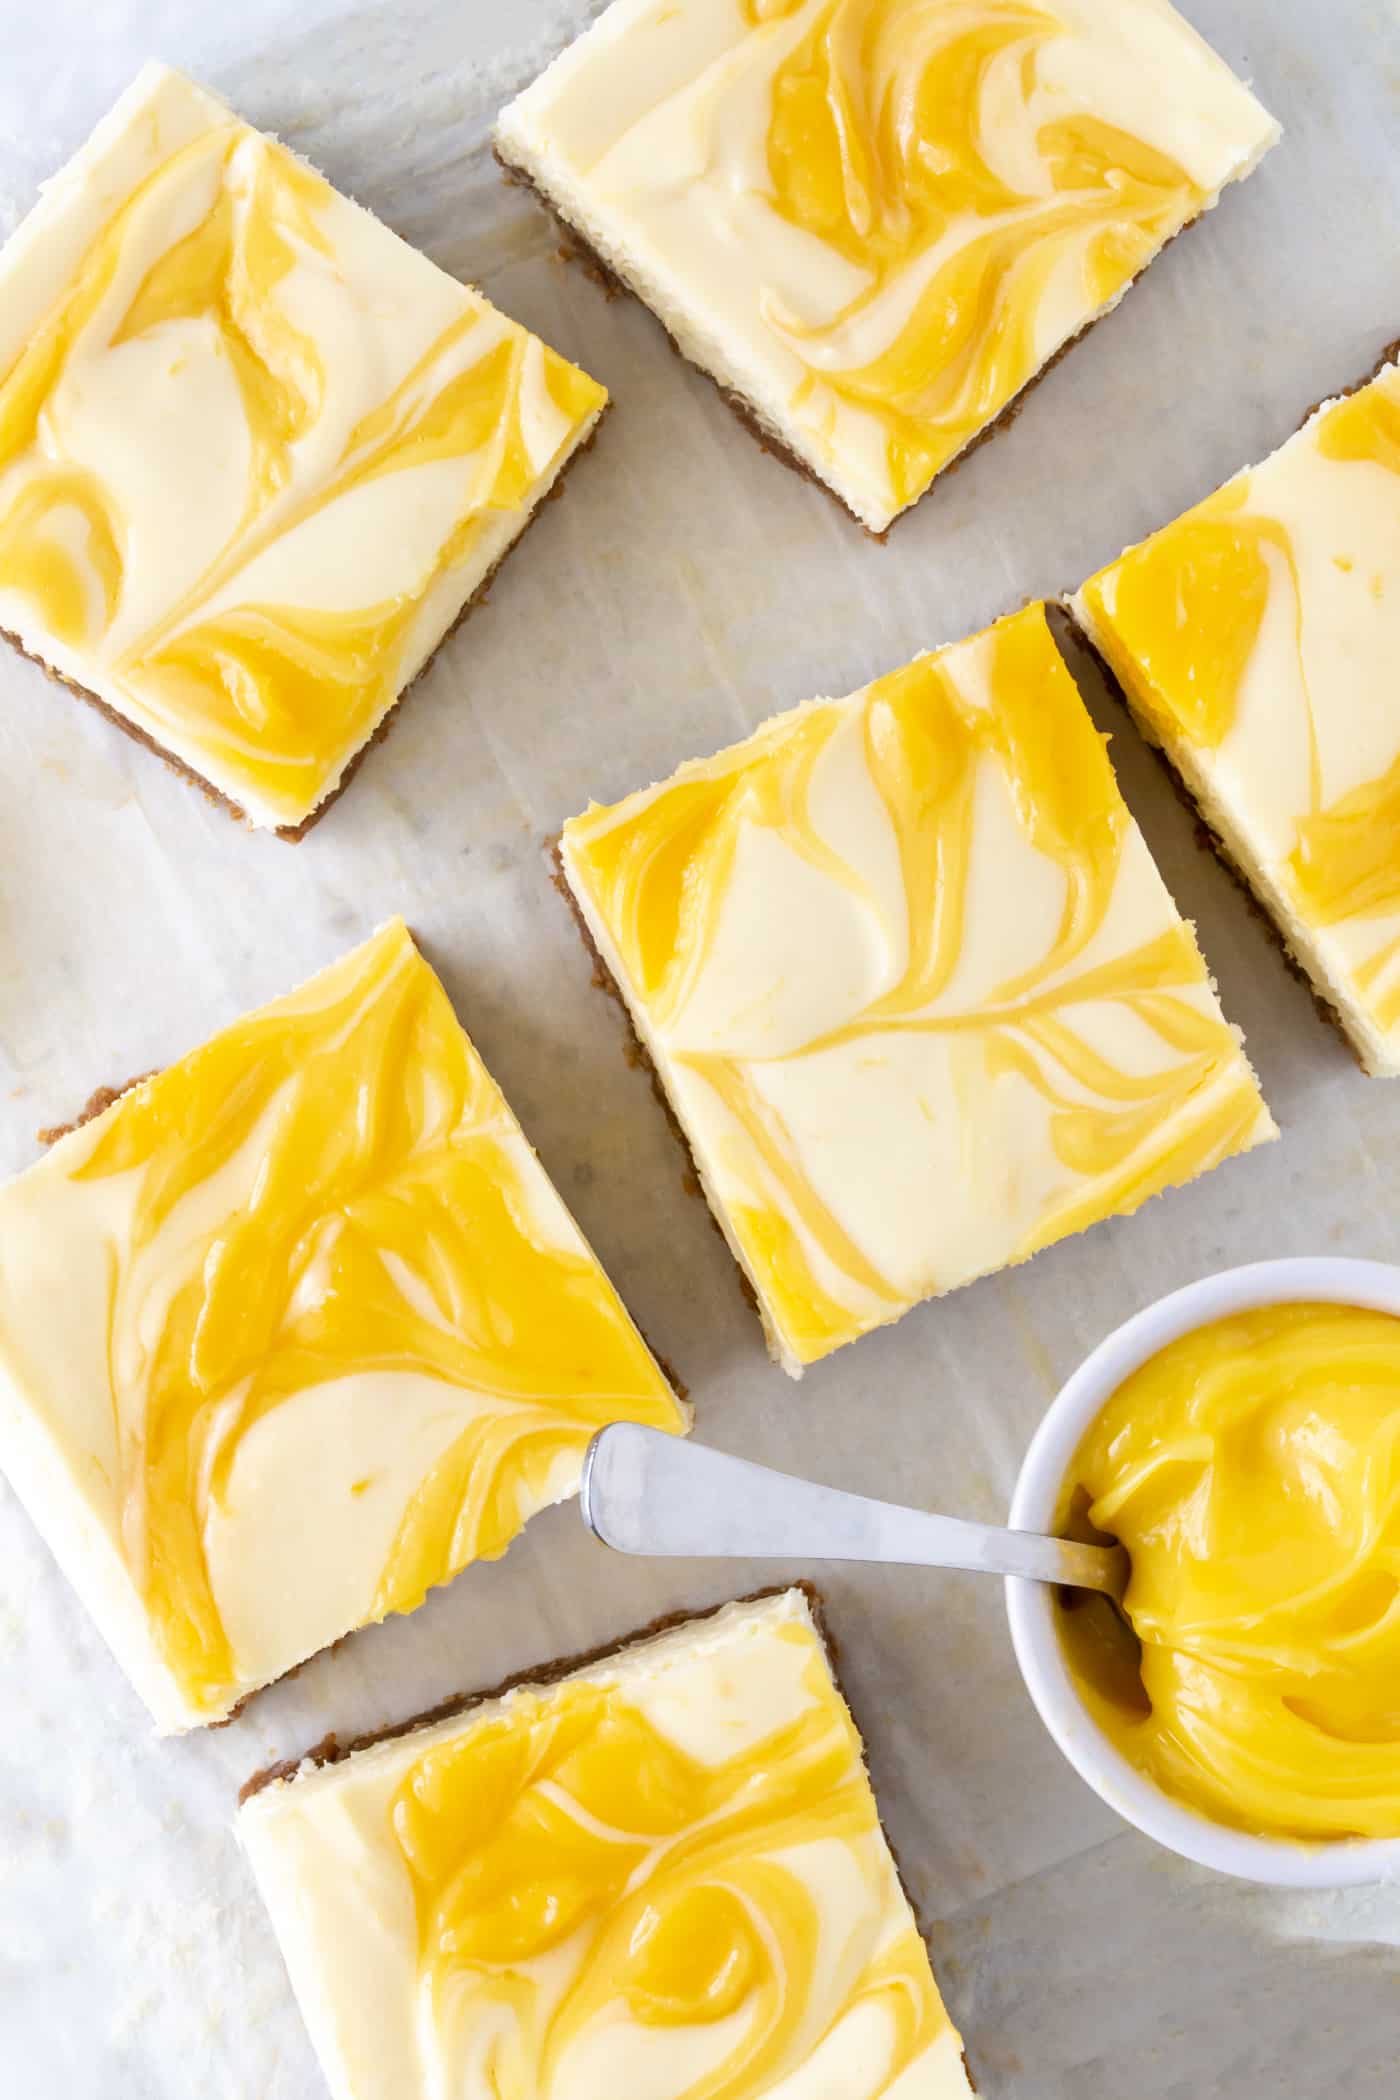
These tangy, make-ahead Lemon Cheesecake bars are made in a cake pan and use store-bought lemon curd for creamy, foolproof cheesecake squares every time. Cheesecake bars are the ultimate spring dessert for any mealtime buffet - Perfect spring dessert for brunches, showers or Mother's Day!
Cheesecake bars are the ultimate dessert for any mealtime buffet. You get all the fanciness and decadence of a regular cheesecake in portable, bite-sized form. No utensils required!
Why this recipe works
- If you love lemon, this is the dessert for you. These bars, or “cheesecake squares” as some people call them, get a double dose of lemon with the addition of lemon juice and zest in the cheesecake batter and a swirl of rich, tangy lemon curd on top.
- No special springform pan needed here. These bars are made in an 8 x 8 square pan.
- This recipe uses a water bath. Sounds fancy but it's super easy. This simple step ensures a foolproof, creamy cheesecake - even if you've never made cheesecake before!
- Cheesecake is one of the best make-ahead desserts out there, and these bars are no exception. You can easily make these days ahead of time, and they will still taste amazing.
Jump to:
Ingredients
If you've ever made a cheesecake before, you'll find all the usual ingredients here:
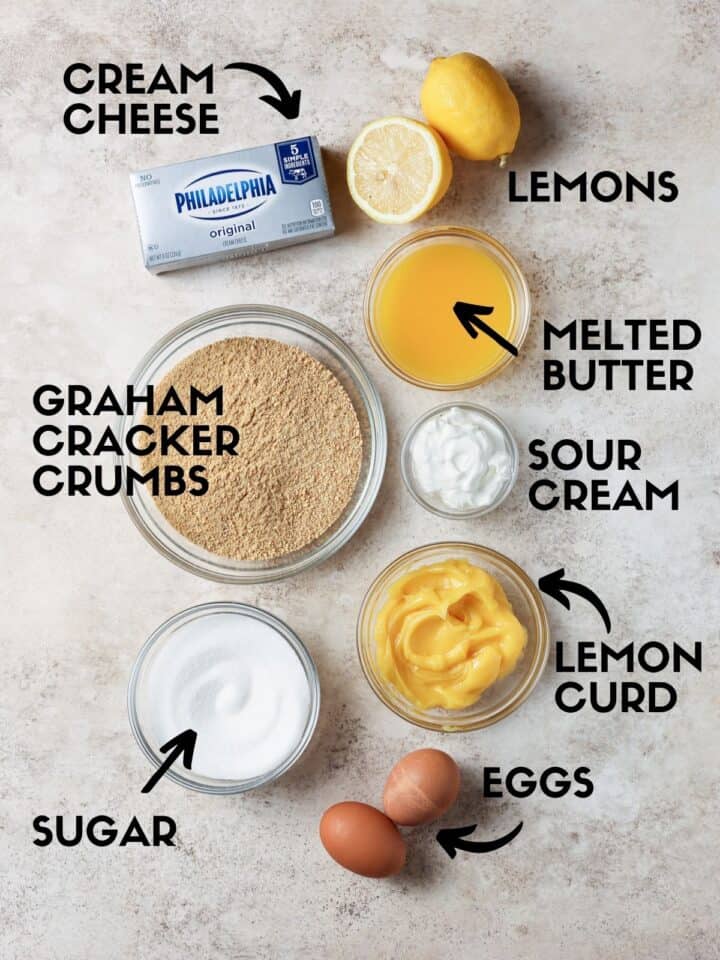
Note: Both graham cracker crumbs and lemon curd are readily available at the grocery store.
Instructions
This cheesecake is easily broken down into a few simple steps:
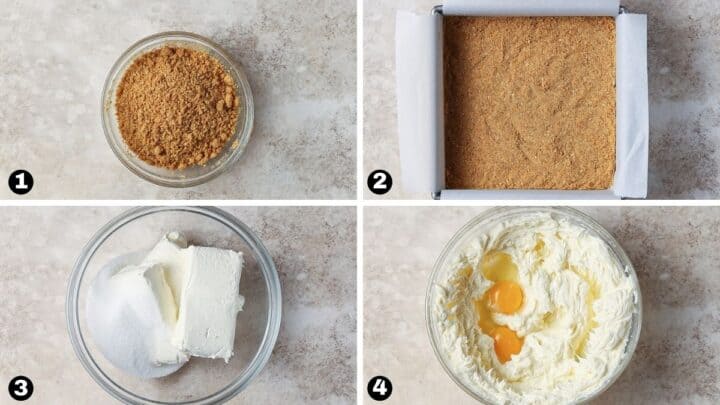
Steps 1-4: Stir together crust ingredients and press into prepared pan. Use a hand mixer or stand mixer to blend cream cheese and sugar together until smooth. Mix in eggs.
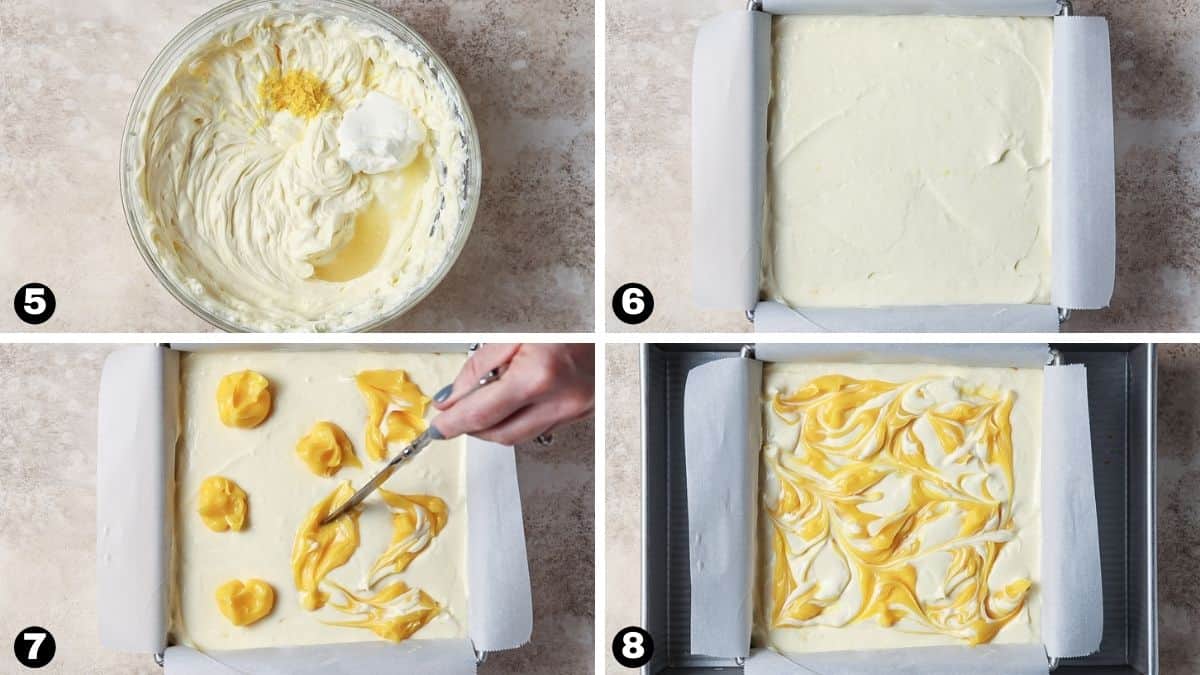
Steps 5-8: Mix in lemon zest, lemon juice and sour cream. Spread batter into pan. Dollop lemon curd on top of batter and swirl throughout pan. Place cheesecake in a larger pan and fill ½ way with water. Bake as directed.
FAQs
A water bath is an easy step to ensure a creamy, evenly baked cheesecake. It sounds fancy, but it's little more than putting your baking pan into another larger pan and filling the larger vessel with water halfway up the sides of your baking pan. (Think 8 x 8 pan inside 9 x 13 pan for visual reference.)
A water bath helps to keep the baking temperature as consistent as possible during the baking process. Even, moist heat ensures the cheesecake bakes at the same pace (no hard edges and underdone middle pieces). It also minimizes the chance of a cracked top or sinking middle, both common issues with cheesecake recipes.
I like to place my larger pan in the oven first before nestling the baking pan inside it and adding the water. This is MUCH easier than trying to slide a pan nestled in another pan of water into the oven without getting water everywhere (including in your cheesecake batter).
Yes! If you're pressed for time, you can make this recipe up to three days in advance. Keep them covered in the refrigerator until ready to cut and serve.
This recipe is nearly foolproof because you bake the bars in a water bath to ensure even heating. The center of the pie should jiggle ever so slightly after the baking time. You also allow it to cool and rest in the oven for an hour afterwards to gradually bring the temperature down and ensure every last bite of these bars is perfectly creamy and baked through.
I like to use a long, slim carving knife to cut cheesecake. Make sure you rinse the knife with warm water and wipe dry between every cut for neat, even slices.
These luscious cheesecake squares can easily be made gluten-free for guests with special dietary requests. All you need to do is swap the regular graham cracker crumbs with gluten-free graham cracker crumbs and continue with the recipe as directed.
These are my favorite gluten-free grahams for baking. The flavor is spot on for a graham cracker crust.
Expert tips for making cheesecake bars
There isn't any fancy equipment necessary to make these bars but I do have a few recommendations to make the best cheesecake bars:
- Line the pan with parchment paper or nonstick foil to use as handles to lift the cheesecake bars out of the pan when you’re ready to cut and serve them.
- A straight edge cake pan is necessary to get sharp, square corners on your cheesecake bars. USA Pans are my favorite. Durable, non-stick and easy to clean.
- Use the bottom of a drinking glass to press the graham cracker mixture into the pan to keep the crust even.
- It may sound like a bit of an overstatement, but my offset spreader is one my most used kitchen tools. It makes quick work of smoothing the top of the cheesecake batter and swirling the lemon curd. Great for frosting, too!
- Hands down, my go-to lemon curd is by Stonewall Kitchen. I've tried them all and nothing compares to its bright, tangy flavor. Plus the vibrant color is a gorgeous contrast to the pale cheesecake batter.
More cheesecake recipes
You can find more tasty dessert recipes in our archives.
Did you make this recipe? We'd love to hear your thoughts!

Please rate the recipe and leave a comment below. Your feedback helps us and your fellow readers!
Recipe
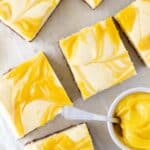
Lemon Cheesecake Bars
Ingredients
Crust:
- 2 cups graham cracker crumbs
- 2 tablespoons granulated sugar
- 6 tablespoons melted butter
Cheesecake filling:
- 24 ounces cream cheese softened
- ¾ cup sugar
- 2 large eggs room temperature
- ¼ cup sour cream
- 3 tablespoons freshly squeezed lemon juice
- 1 tablespoon freshly grated lemon zest
- heaping ⅓ cup lemon curd
Want to save this recipe?
Instructions
For the crust:
- Preheat oven to 350 degrees. Line 8 x 8 baking pan with parchment paper or foil leaving an overhang on all sides. Set aside.
- Stir together graham cracker crumbs, sugar and melted butter. Dump into prepared baking pan and evenly press crumb mixture into pan to form crust. Place in refrigerator to set while preparing cheesecake.
For the filling:
- Beat together cream cheese and ¾ cup sugar in a large bowl until light and fluffy. Beat in eggs until incorporated. Add sour cream and lemon juice and gently mix until batter is smooth. Stir in lemon zest. Pour batter over crust. Gently add dollops of lemon curd over the top of the cheesecake batter. Use the tip of an offset spreader or knife to gently swirl the curd into the batter taking care not to hit the crust.
- Place a larger pan (9 x 13 or larger) in the oven and set cheesecake pan inside it. Fill large pan with enough water so it reaches halfway up the sides of the cheesecake pan.
- Bake for 50-55 minutes or until cheesecake is just set. Turn off the oven, prop the oven door open with the handle of a wooden spoon and allow to cool for another hour.
- Remove bars from water bath and refrigerate overnight.
- When ready to serve, lift cheesecake from pan using overlapping paper or foil. Cut cleanly into bars by using a sharp knife run under hot water and dried after each cut.
Notes
Baking tips:
- Line the pan with parchment paper or nonstick foil to use as handles to lift the cheesecake bars out of the pan when you’re ready to cut and serve them.
- Use the bottom of a drinking glass to press the graham cracker mixture into the pan to keep the crust even.
- A straight edge cake pan is necessary to get sharp, square corners on your cheesecake bars. USA Pans are my favorite. Durable, non-stick and easy to clean.
- A water bath is an easy step that helps prevent your cheesecake from cracking on the top or sinking in the middle. It sounds fancy but is little more than putting your baking pan into another larger pan and filling the larger vessel with water halfway up the sides of your baking pan. (Think 8 x 8 pan inside 9 x 13 pan for visual reference.)
Storage tips:
- This cheesecake must chill overnight to completely set up. Run a knife under warm water and wipe clean between cuts to ensure clean, even slices.
- You can make these bars up to three days in advance. Keep them tightly covered in the refrigerator. Or freeze for up to three months.
VIDEO
Nutrition
Nutrition info not guaranteed to be accurate.


Cynthia Gates says
I love those lemon squares, but the length of time to make them hard is more than one day, so I am making them tomorrow, but request the eggs and cream cheese at room temperature. How do I accomplish that if I am making it tomorrow?
Anna says
Hi Cynthia, I'm not sure I understand your question. The bars definitely need to be refrigerated for 8 hours to completely set up and cut nicely. It shouldn't take more than an hour to bring the eggs and cream cheese to room temperature, so factor that timing into your baking schedule.
Misty says
How do you keep them from getting too dark on top? I love these and make them all the time but they get darker than I’d like. Do you ever throw foil over the top? Would that work for these?
Anna says
Hi Misty, while I haven’t had an issue with browning, you can definitely tent the top with foil if the bars are getting darker than you want. Start with them uncovered and then top with foil when needed. Enjoy!
Erica says
Hi! I’m looking to make these in a 9 x 13 dish, like one of those square ones! I would love to make them as thick and consistency as you have made in your 8 x 8. Any suggestions? I didn’t want to just double it or triple it and have something go wrong thank you in advance!
Anna says
Hi Erica, an 8x8 recipe is a little more than 50% of a 9x13 recipe, so doubling it shouldn't be an issue. You'll need to find another dish that is larger than your 9x13 pan for the water bath and the bake time might be a touch longer because the bars will be slightly thicker. Happy baking!
Tina says
My niece is getting married in May. It will be hot in Georgia.
I am doing the guests favors and think this recipe would be great.
Please help me calculate enough for 125 favor boxes
How much ingredients I need.
Thanks!!!!!!
Anna says
Hi Tina, these bars need to be refrigerated, so they wouldn't work as room temperature party favors. That said, if you have a method to keep them chilled, simply multiply the recipe ingredients for your specific number of guests. Congratulations to your niece!
Pony says
LOVE THIS!! Excited to try making this 🙂 Thank you for sharing your recipe!!