
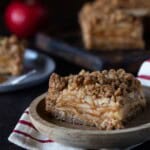
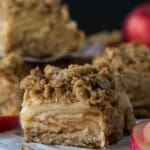
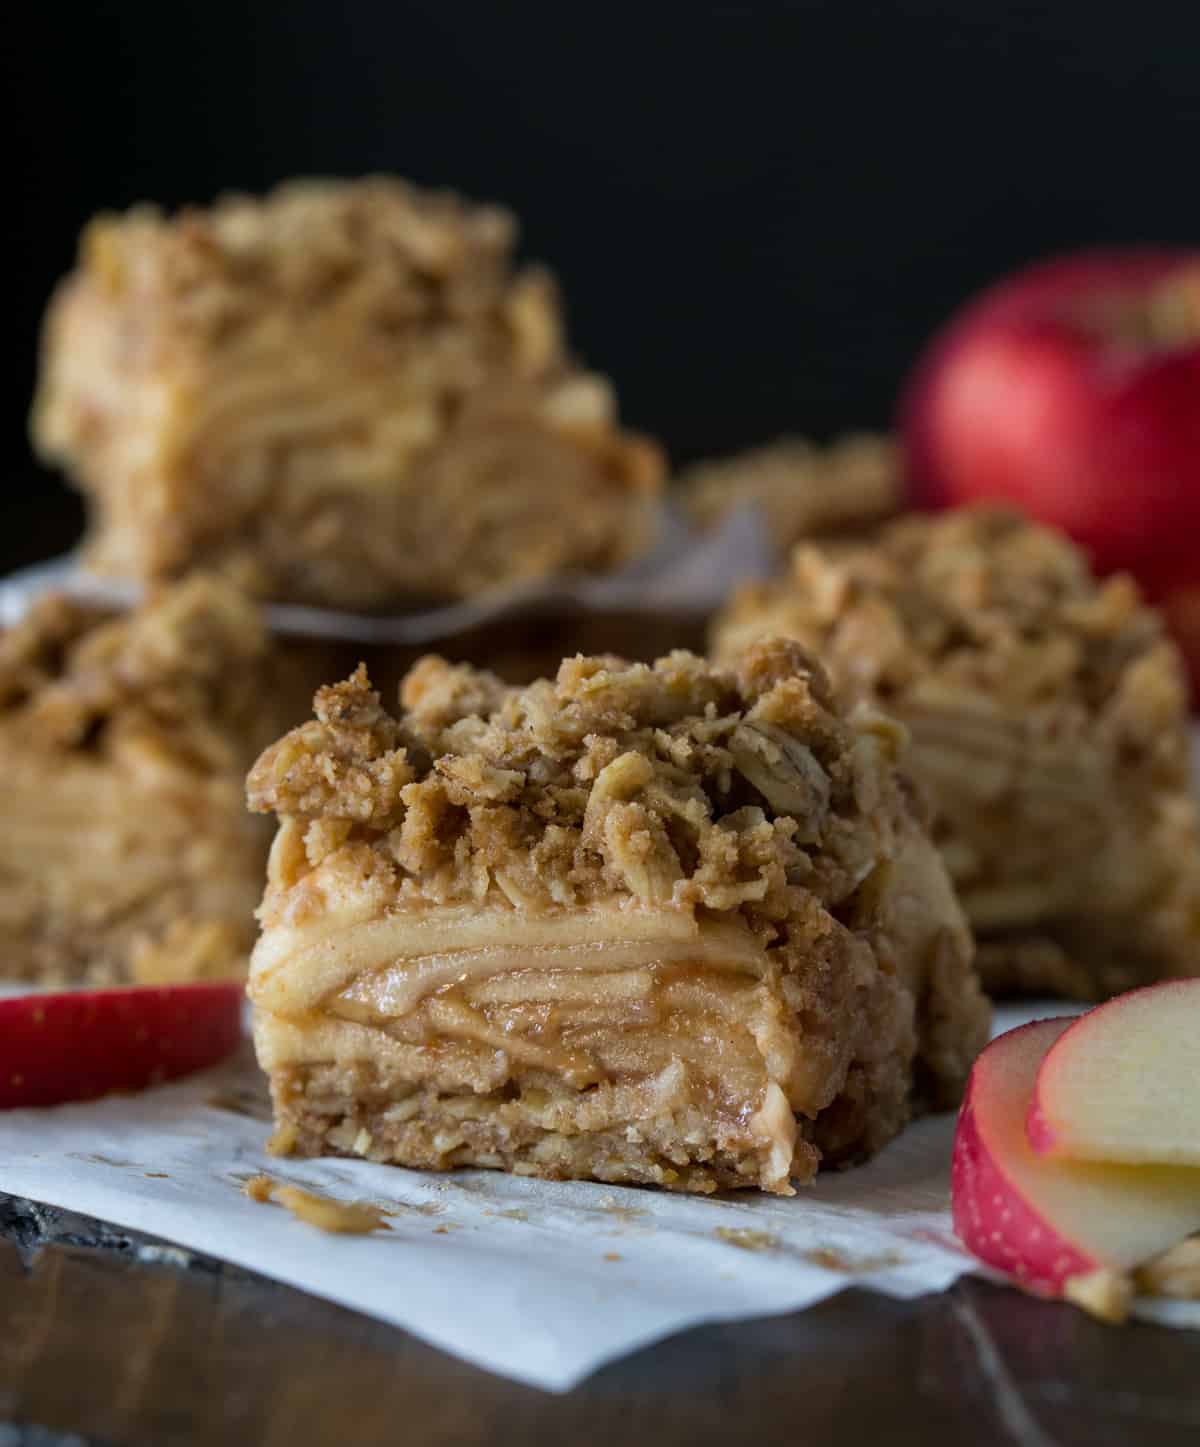
I took everything we love about traditional apple crisp - tender, cinnamon-spiced apples and buttery oat streusel - and turned it into these Apple Crisp Bars. The same mixture doubles as the crust, so you get crumble on the top and bottom with no separate shortbread crust to make or parbake. More of the best part of apple crisp, with fewer steps and fewer dishes.
Want to save this recipe?
By signing up, you'll join our email list and can unsubscribe at any time.
What Makes This Different
- More crumble where it counts. The same buttery oat streusel becomes both the crust and topping, so you get that classic apple crisp texture on both sides of the apples instead of saving all the good stuff for the top.
- No separate crust or parbake. There's no shortbread-style base to mix and bake first. The crust, apples and topping all go in the oven together.
- Covered first, crisped second. The bars bake under foil first to give the apples time to soften, then finish uncovered so they streusel can turn deep golden and crisp.
- They hold together like actual bars. Thinly sliced baking apples and a full cooling time help the layers set cleanly, and I've made them up to two days ahead of time with great results.
Jump to:
Ingredients
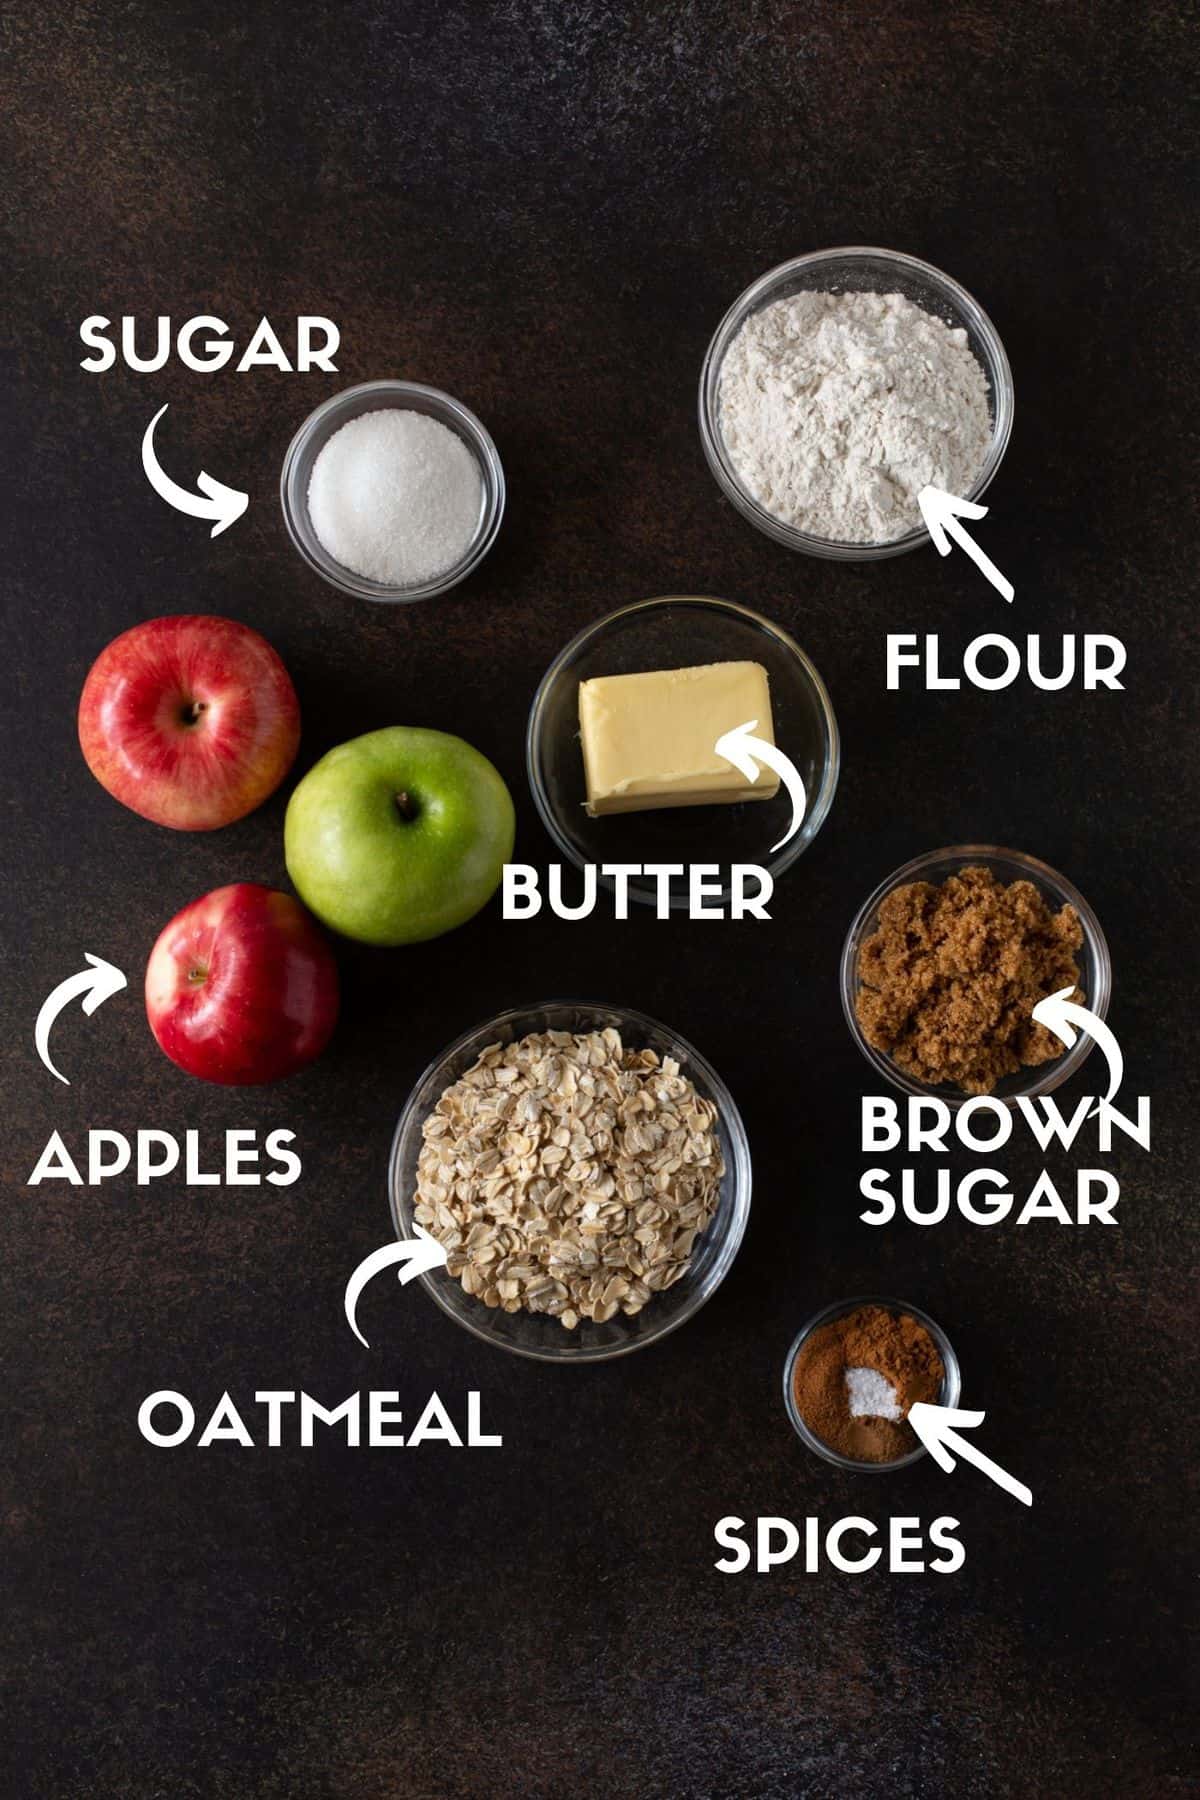
- Apples. A mix of sweet and and tart baking apples gives you the best fall flavor. I like Honeycrisp paired with Haralson, a firm Minnesota baking apple I reach for every fall. If you can't find Haralsons, Granny Smith is an easy substitute. The bigger thing to watch is texture: choose firm baking apples that will hold their shape rather than turning to applesauce in the oven (I'm looking at you, Red Delicious!).
- Old-fashioned oats. They give both the crust and topping that classic crisp texture. Quick-cooking oats work, too, although the finished streusel will be a little softer.
- Brown sugar. It gives the oat mixture a deeper caramel flavor and helps it bake up golden around the edges.
- Cinnamon, nutmeg and cloves. I use all three in both the streusel and apple filling. The cloves are especially good here because they give the bars that unmistakable fall-baking flavor without overpowering the apples.
- Butter. Melted butter stirs right into the crumble ingredients for a quick crust and topping. Salted or unsalted butter will work.
- All-purpose flour. Most goes into the oat mixture, but don't forget the tablespoon tossed with the apples. It helps absorb some of the juices they give off as they bake.
- Gluten-free option. I've also made these with gluten-free oats and a 1:1 gluten-free flour blend in place of the regular oats and flour. Cup4Cup and King Arthur Measure for Measure are both good options.

I first found this recipe years ago during our weekly library trips when my kids were little. While they browsed the children's section, I'd head for the cookbooks, and this was one of those recipes that caught my eye. It's been part of my fall baking rotation ever since.
How to Make Apple Crisp Bars
If you've made apple crisp before, this will feel familiar. The difference is that one oat streusel does double duty as both the crust and topping. No separate crust or parbake required.
Make The Streusel
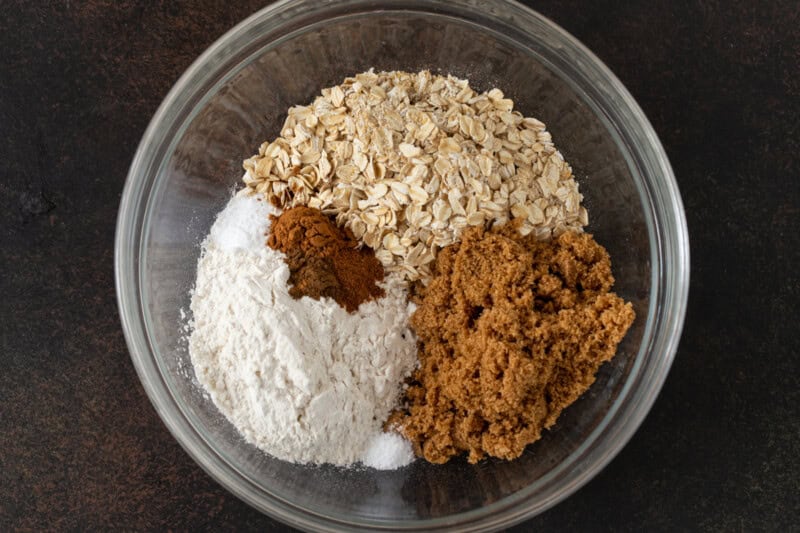
Mix the dry ingredients with the melted butter until the mixture looks like damp, coarse crumbs that hold together when squeezed.
Press In The Crust
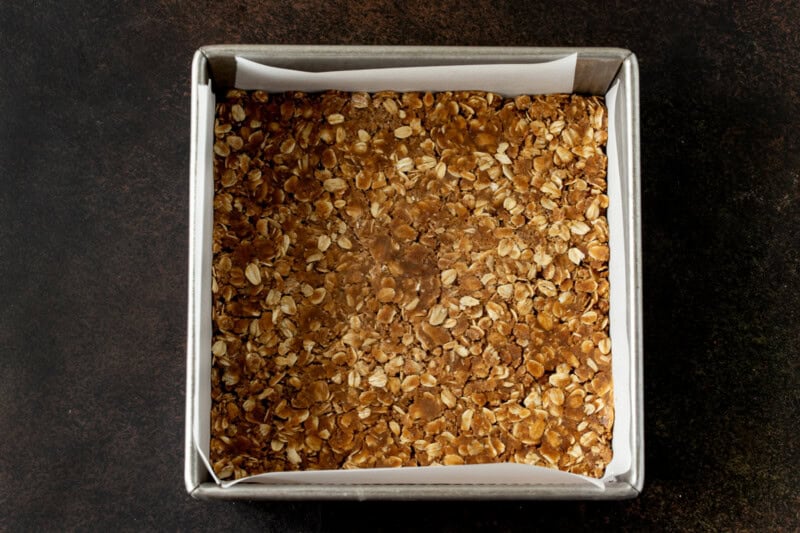
Reserve 1 cup of the streusel for the topping, then firmly press the rest into a parchment-lined 8x8-inch pan.
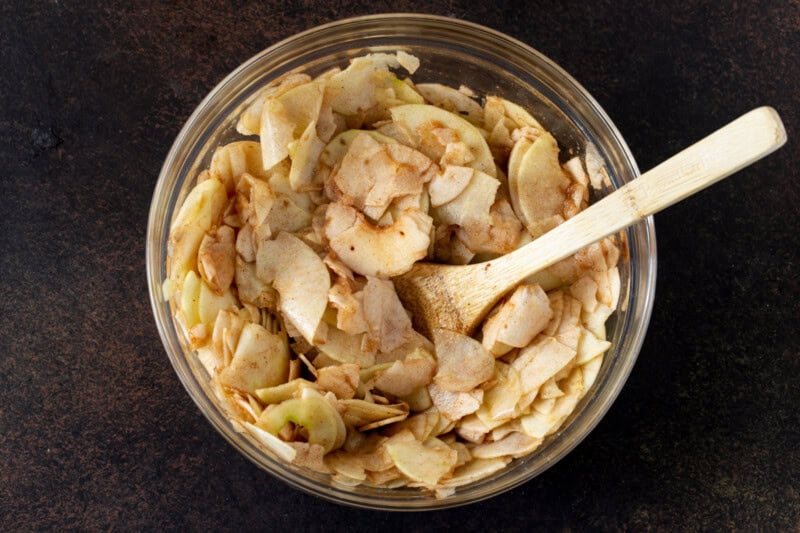
Toss the Apples
Combine the thinly sliced apples with sugar, lemon juice, flour and spices until the slices are evenly coated and no dry pockets of flour or spice remain.
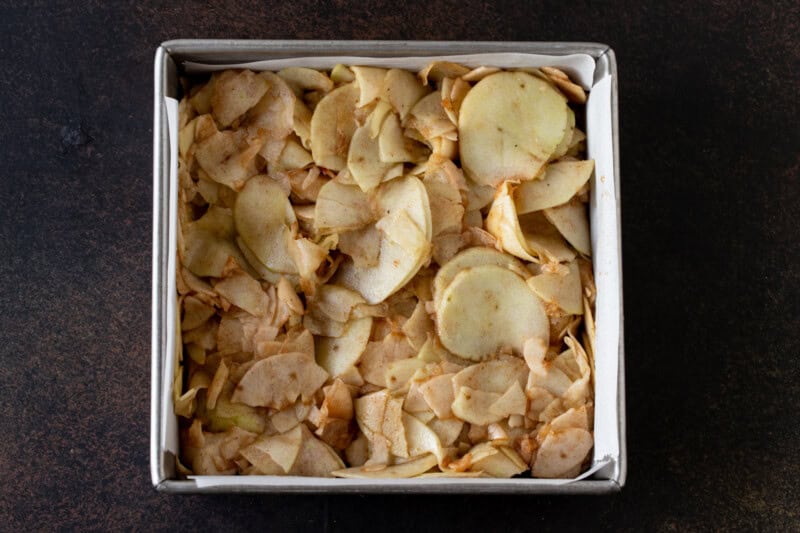
Add the Apples
Spread the apples evenly over the unbaked oat crust. Don't worry if the pan looks quite full at this stage; the apples will soften and settle as they bake.
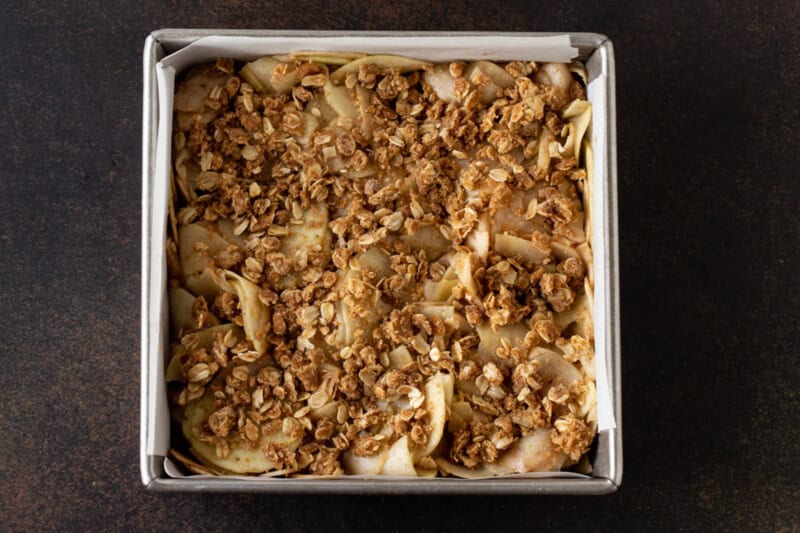
Add the Topping
Crumble the reserved streusel over the apples. It doesn't need to completely them completely; those uneven clusters are what give the bars their crisp, crumbly top.
Bake Covered, then Uncovered
Covering the pan first gives the apples time to soften; removing the foil for the second half lets the streusel brown and crisp. The bars are done when the topping is deep golden, the filling is bubbling around the edges and the apples in the center are tender when pierced with the tip of a sharp knife.
Cool completely
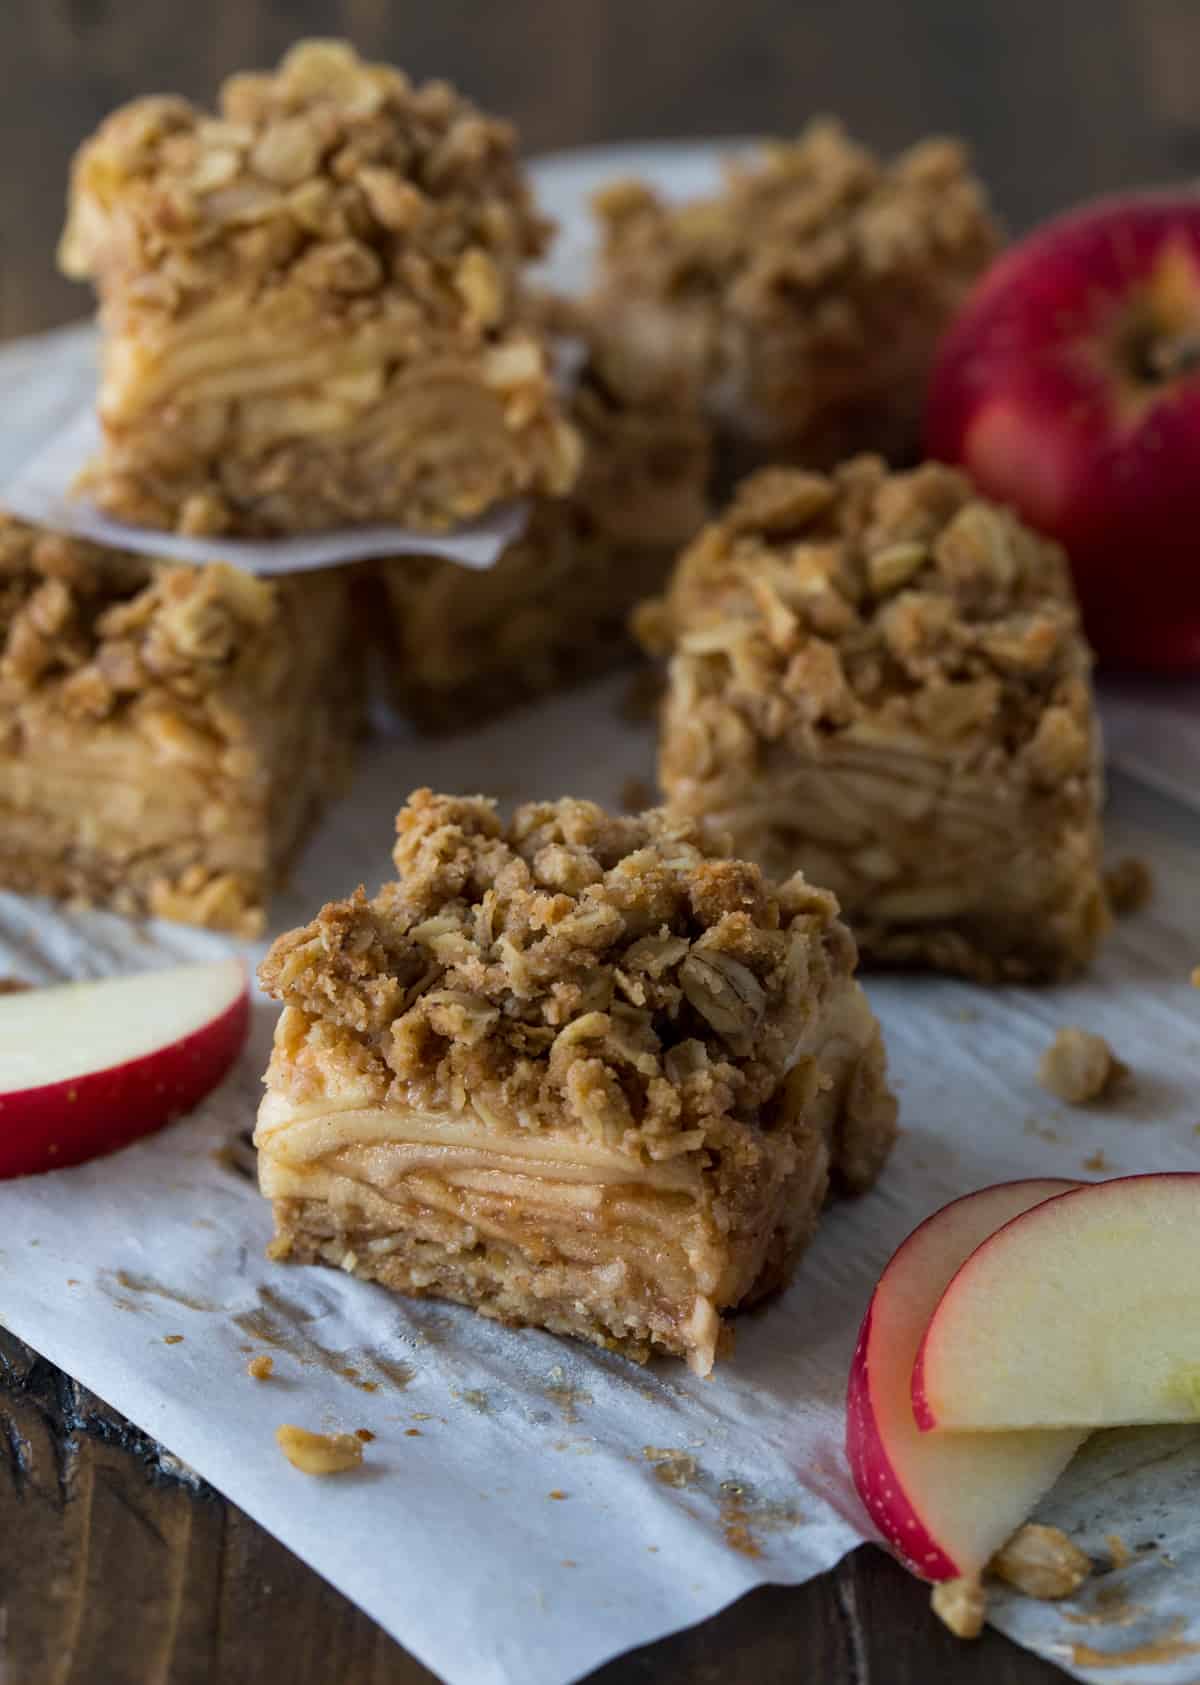
Let the bars cool before slicing so the layers have time to set. Chill them first if you want especially clean cuts.
Before You Make These
- Taste your apples. Apple sweetness varies quite a bit, especially when you're using local varieties. Give your apples a taste before baking and adjust the sugar if they're particularly sweet or tart.
- Slice the apples thinly and evenly. This is one of those times when my inexpensive handheld mandoline earns its keep. Thin, even slices cook at the same rate and make the finished bars much easier to cut. No mandoline? A sharp knife works just fine. Just try to keep the slices fairly consistent.
- Don't skip the foil. Covering the pan during the first part of baking gives the apples time to soften without overbrowning the streusel. Once you remove the foil, the topping has time to turn deep golden and crisp.
- Let the bars cool before cutting. Warm apple crisp is wonderful, but if you try cutting warm apple crisp bars before they are fully cooled, you'll end up with a messy pile of apple slices and bits of oat crumble. For especially clean edges, refrigerate the cooled bars before slicing.
- Making these for a crowd? Double the recipe and bake it in a 9x13-inch pan. Add about 5-10 minutes to the baking time and loosely tent the top with foil if it's browning too quickly.
Make Ahead, Storage and Freezing
Make ahead: These are one of my favorite desserts to make ahead. I've baked them up to two days before serving, which is a good sweet spot if you want to get dessert done early without giving up too much of that crisp streusel texture.
Storage: For longer storage, keep the bars lightly covered in the refrigerator for up to five days. The topping will gradually soften, but the flavor still holds up well.
If you want to serve them warm, a few minutes in the oven helps bring some of that crisp texture back.
Freezing: These are best when frozen before baking. Assemble the bars in a metal pan, wrap the pan tightly in foil and freeze for up to two months. Don't use glass for this method, since moving a frozen glass pan directly to a hot oven can cause it to shatter.
Bake the bars straight from frozen, adding about 15-30 minutes to the baking time. If the topping starts getting too dark before the center is finished, loosely tent it with foil.
How to Serve Them
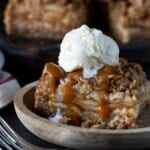
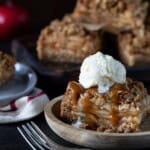
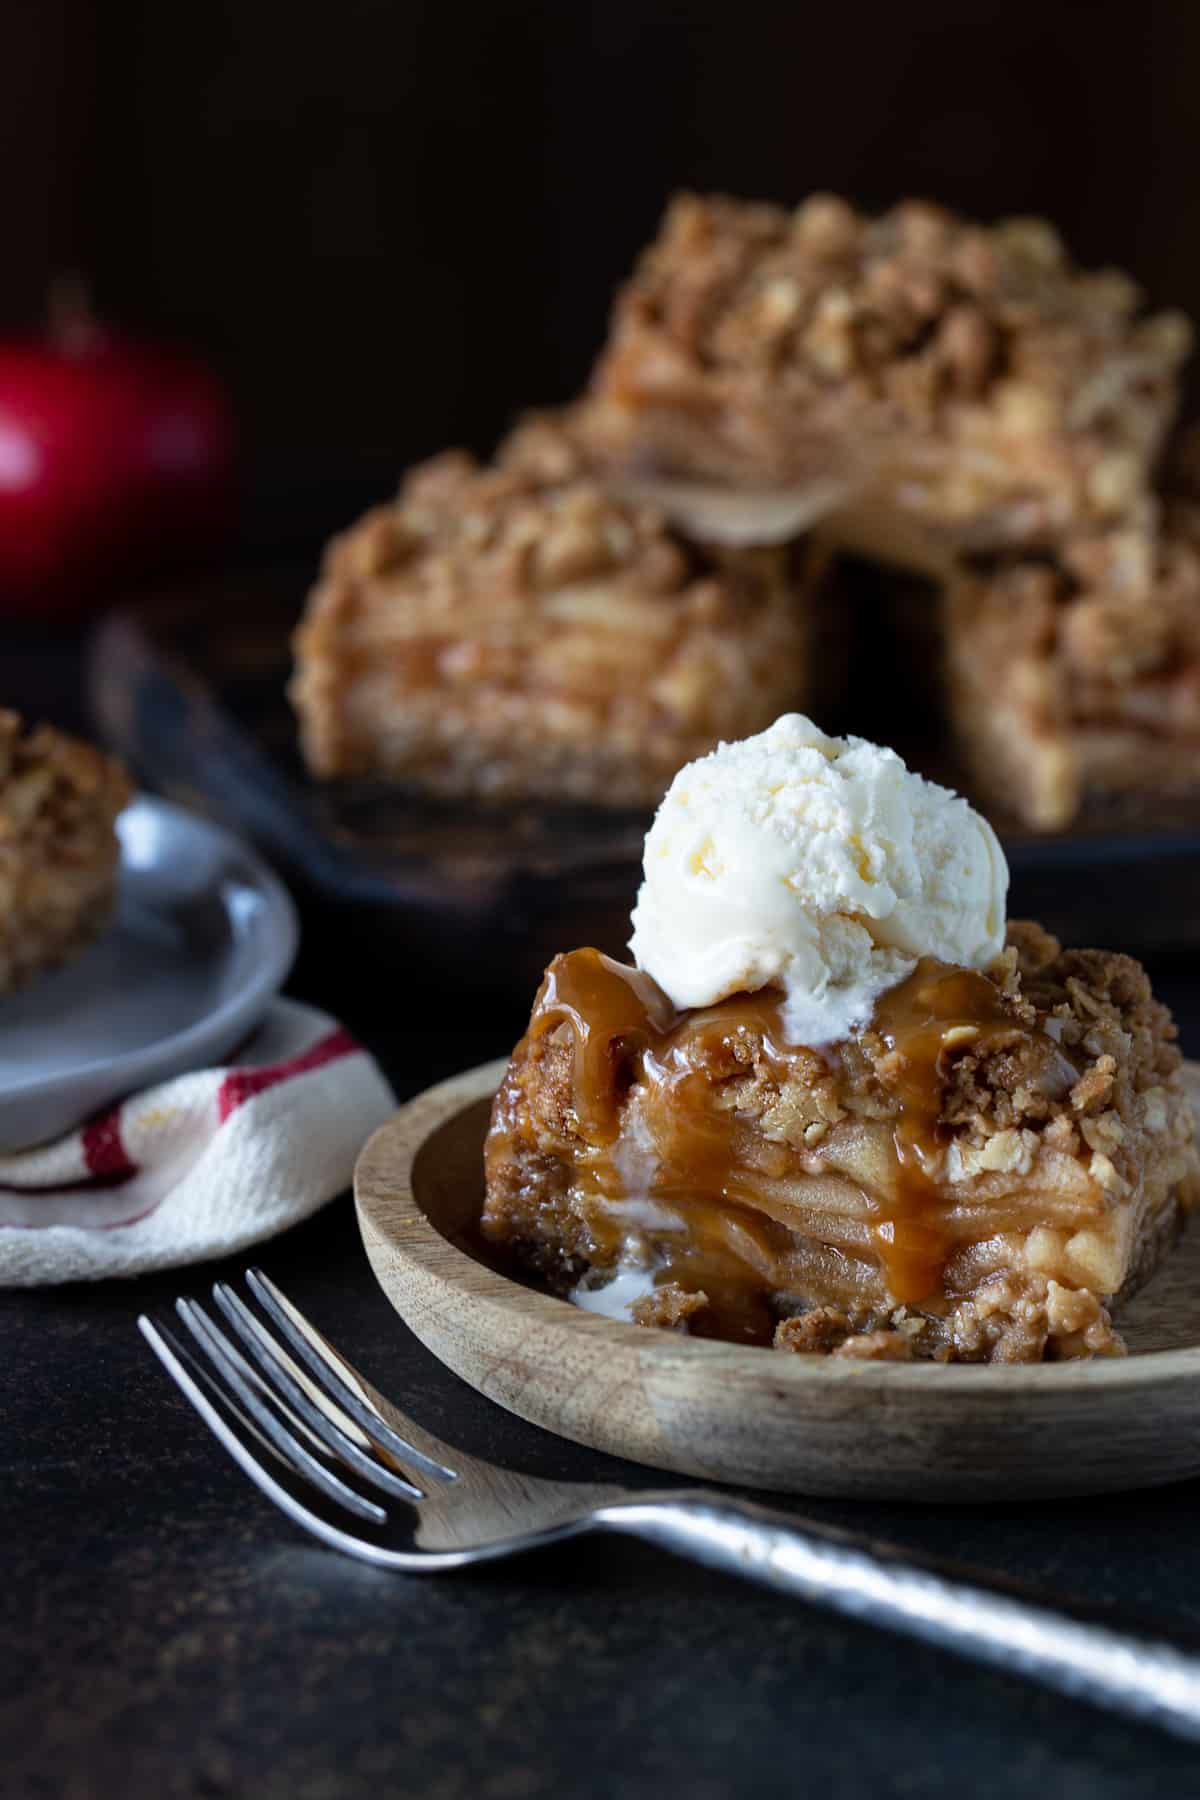
They're plenty good straight from the pan, but warm apple crisp bars with a scoop of vanilla ice cream and caramel sauce is hard to beat. For more of a grab and go dessert, serve them chilled or at room temperature. That's when they hold their bar shape best.
More Apple Recipes

Made this? Loved it? Tell us everything!
Leave a quick star rating and comment below so we can trade tips and cheer each other on.
Who knows? Your twist might become someone else's new favorite!
Recipe
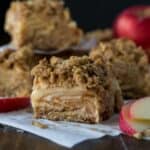
Apple Crisp Bars

Ingredients
- 1 ½ cups old fashioned oats
- ¾ cup plus 1 tablespoon flour, divided
- ¾ cup packed brown sugar
- 2 teaspoons ground cinnamon, divided
- 1 teaspoon ground nutmeg, divided
- ½ teaspoon ground cloves, divided
- ½ teaspoon salt
- ½ teaspoon baking soda
- 8 tablespoons butter, melted
- 6 cups peeled and thinly sliced baking apples (about 3 large apples)
- ½ cup granulated sugar
- 1 tablespoon fresh lemon juice
Want to save this recipe?
By signing up, you'll join our email list and can unsubscribe at any time.
Instructions
- Preheat oven to 375℉. Line an 8x8 baking pan with parchment paper, leaving enough overhang to lift the bars from the pan after baking.
- Stir together the oats, ¾ cup flour, brown sugar, 1 teaspoon cinnamon, ½ teaspoon nutmeg, ¼ teaspoon cloves, salt and baking soda in a medium bowl.1 ½ cups old fashioned oats, ¾ cup plus 1 tablespoon flour, , ¾ cup packed brown sugar, 2 teaspoons ground cinnamon,, 1 teaspoon ground nutmeg,, ½ teaspoon ground cloves,, ½ teaspoon salt, ½ teaspoon baking soda
- Add the melted butter and stir until the mixture is evenly moistened and looks like damp, coarse crumbs. It should hold together when squeezed but still crumble easily. Reserve 1 cup for the topping.8 tablespoons butter,
- Press the remaining oat mixture firmly and evenly into the bottom of the prepared pan. The surface should look compact with no loose patches of crumbs.
- Toss the apples with granulated sugar, lemon juice, remaining 1 tablespoon flour, 1 teaspoon cinnamon, ½ teaspoon nutmeg and ¼ teaspoon cloves until the slices are evenly coated and no dry pockets of flour or spices remain.¾ cup plus 1 tablespoon flour, , 2 teaspoons ground cinnamon,, 1 teaspoon ground nutmeg,, ½ teaspoon ground cloves,, 6 cups peeled and thinly sliced baking apples , ½ cup granulated sugar, 1 tablespoon fresh lemon juice
- Spread the apples evenly over the crust and crumble the reserved oat mixture over the top.
- Cover the pan tightly with foil and bake for 30 minutes. Remove the foil and bake for another 25-30 minutes, until the topping is deep golden brown, the filling is bubbling around the edges and the apples in the center are tender when pierced with the tip of a sharp knife.
- Cool completely in the pan before lifting out the bars and slicing. For especially clean cuts, chill the cooled bars before slicing.
Notes
- This recipe was adapted from One Bowl Baking by Yvonne Ruperti. Recipe retested and slightly modified in September 2026.
- Use firm baking apples that hold their shape. Honeycrisp, Haralson and Granny Smith are all good choices.
- Old-fashioned or quick-cooking oats both work. Quick oats will give the streusel a slightly softer texture.
- Salted or unsalted butter can be used.
- Allow the bars to cool completely before cutting them. Chilled bars cut the most cleanly and retain their shape better than warm bars.
- Lining the pan with parchment paper makes it easier to remove the bars from the pan. Just lift the paper hanging over the edges like handles to remove all the bars to a cutting board.
- Store these bars lightly covered in the refrigerator for up to 5 days. The topping starts to lose its crunch after a few days but the flavor remains strong.
- To make a larger batch, double the recipe and bake in a 9x13 pan, adding 5-10 minutes to the baking time as needed.
- You can freeze these bars assembled but unbaked. Wrap metal pan tightly with foil and freeze for up to 2 months. Add extra baking time (15-30 minutes) and tent with foil if browning too quickly.
VIDEO
Nutrition
Nutrition info not guaranteed to be accurate.
Maisy Jane says
I'm very confused about the lists of ingredients in the middle of the instructions. The measurements don't match what's written in the instructions or the ingredients list. Why did you do this?
I'm sorry you find this confusing, Maisy Jane. The template we use for our recipes adds the ingredients into the step by step instructions, but you still need to read the directions to know exactly how much of an ingredient to add - especially when the amount needs to be divided. I find reading the recipe through first before baking helps a lot. That way I know what to expect.
Melissa says
These bars are delicious! They have lots of flavor and pair perfectly with a scoop of vanilla ice cream or in a bowl with cold milk. Thanks for sharing this recipe.
Laura says
I have made these apple bars three times now and they are the bomb. Easy to make and you defiantly need to use a mandolin, makes a huge difference if you want them bar like. We did enjoy them with ice cream and caramel....OMGosh, sooo good...you will not be disappointed. Thanks so much for a great recipe!