


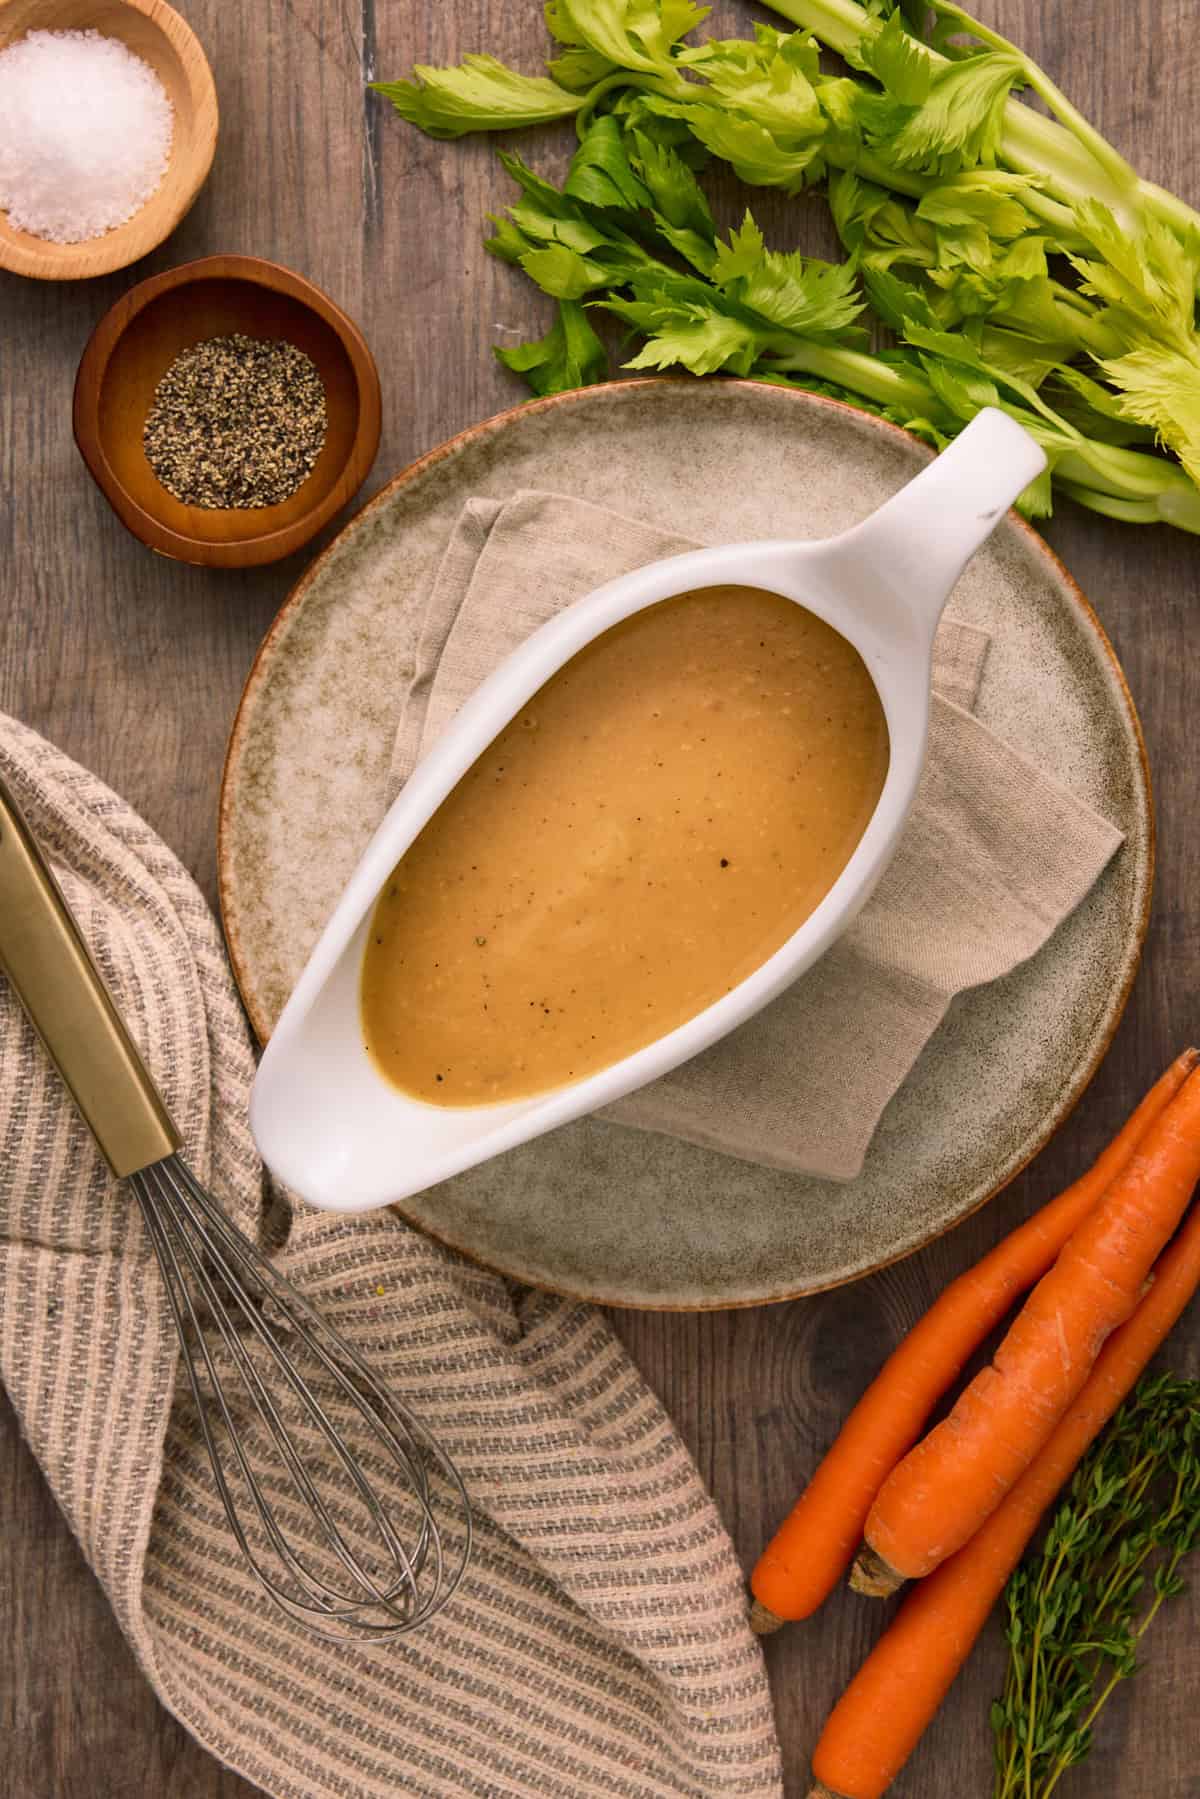
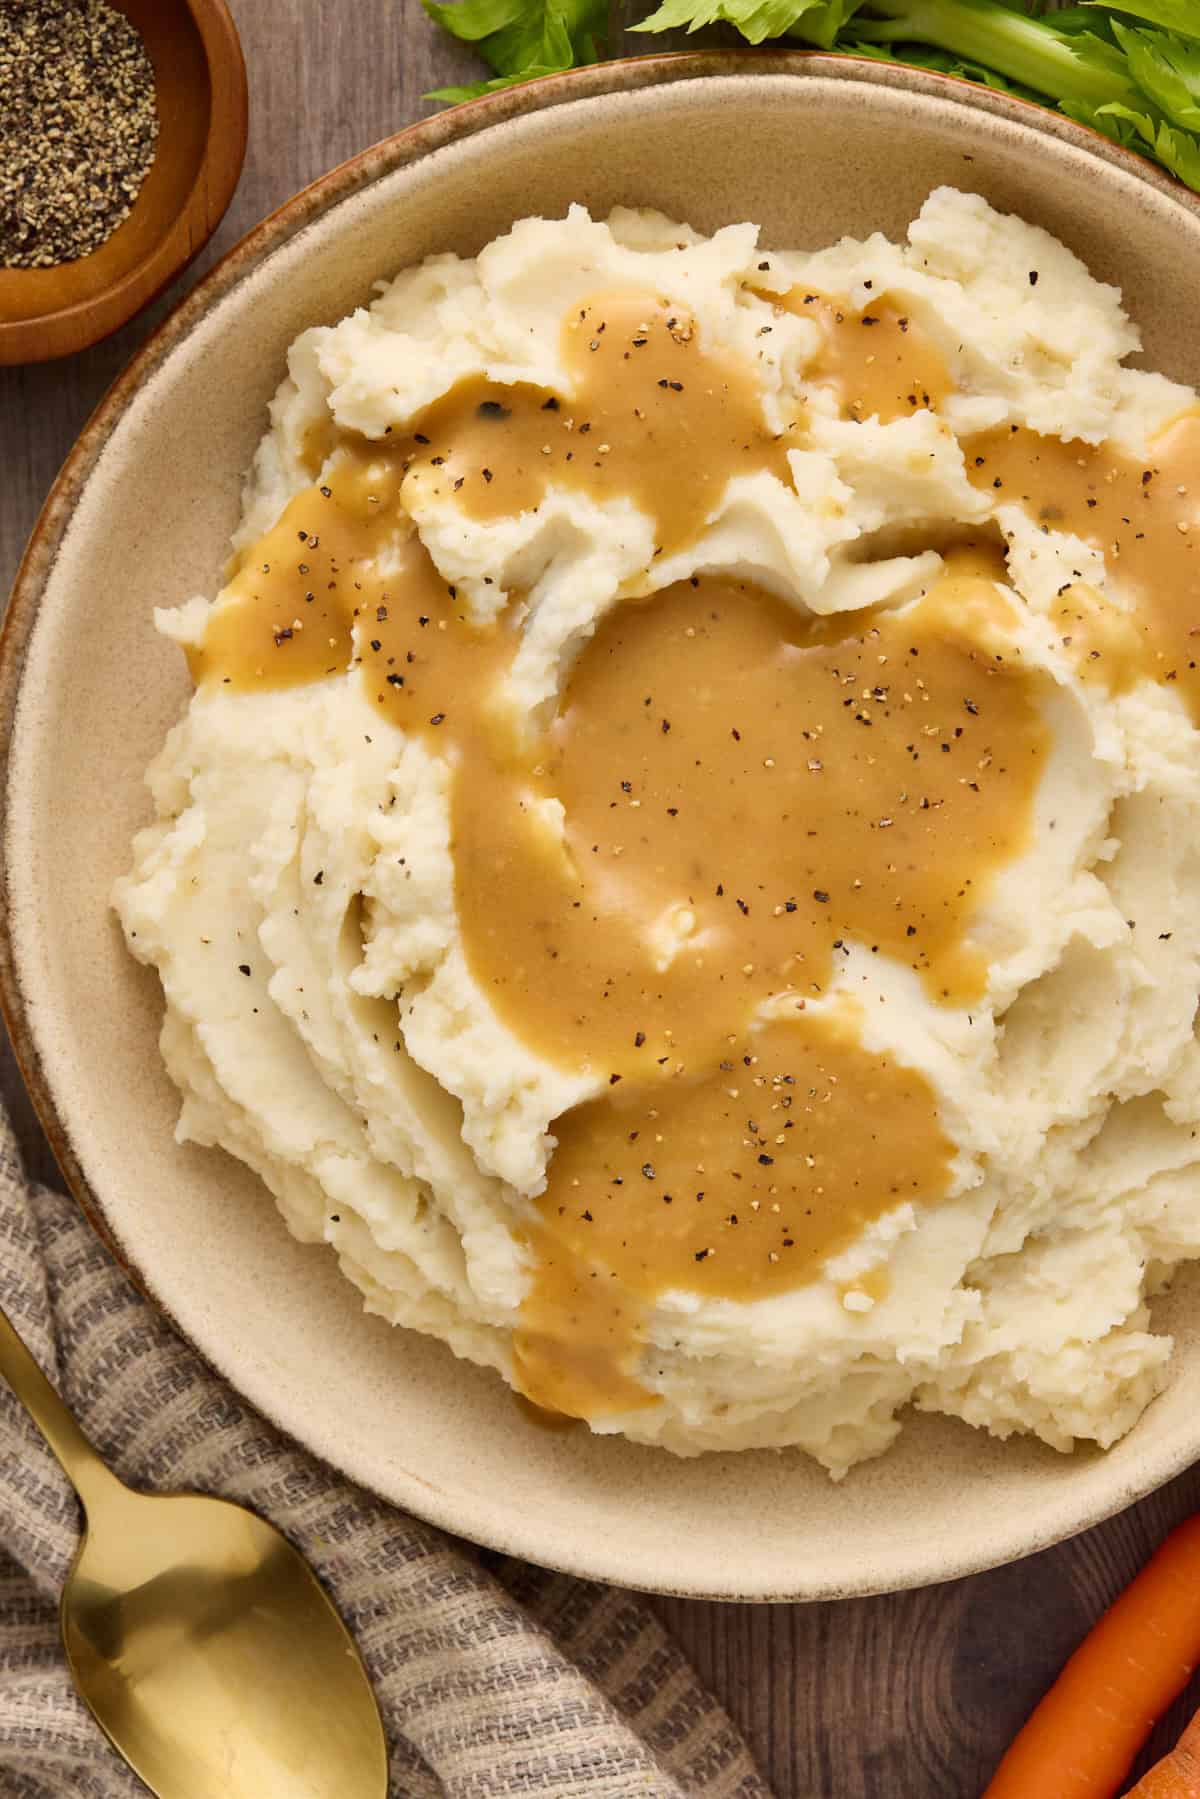
Take the stress out of Thanksgiving prep with this Make-Ahead Turkey Gravy. Silky, flavorful, and perfectly seasoned, it brings restaurant-quality richness to your holiday table. Best of all, it's ready before the turkey even goes in the oven!
Want to save this recipe?
By signing up, you'll join our email list and can unsubscribe at any time.
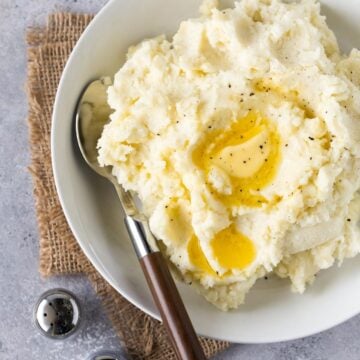
Over the years, I've learned that the key to a relaxed, enjoyable holiday is preparation, and nothing saves more time (or sanity) than having the gravy ready ahead of the big day. This Make-Ahead Turkey Gravy is rich, deeply flavorful, and a true timesaver. Imagine having your gravy and your mashed potatoes done days before your feast? When you are ready to eat, simply reheat and serve when the turkey is carved.
It's the kind of recipe I swear by - and once you try it, you'll wonder why you ever waited until the last minute.
Jump to:
Why You'll love this Make-Ahead Gravy Recipe
- Flavor for Days: Roasting onions, carrots, and celery until golden is the secret to an easy turkey gravy with big homemade flavor. Those caramelized veggies add cozy, savory depth that makes this make-ahead turkey gravy taste like it simmered all day (even though it didn't).
- A Little Wine, A Lot of Wow: A splash of white wine deglazes the pan and scoops up all those flavorful browned bits. It's an easy upgrade that makes your holiday gravy taste totally next-level.
- Make-Ahead Magic: The best part? You can make it ahead! No last-minute gravy panic while the turkey's resting - just reheat, pour, and let everyone rave about your easy make-ahead turkey gravy. More flavor, less fuss, and way more time to sip your wine and enjoy the big day.
Ingredients
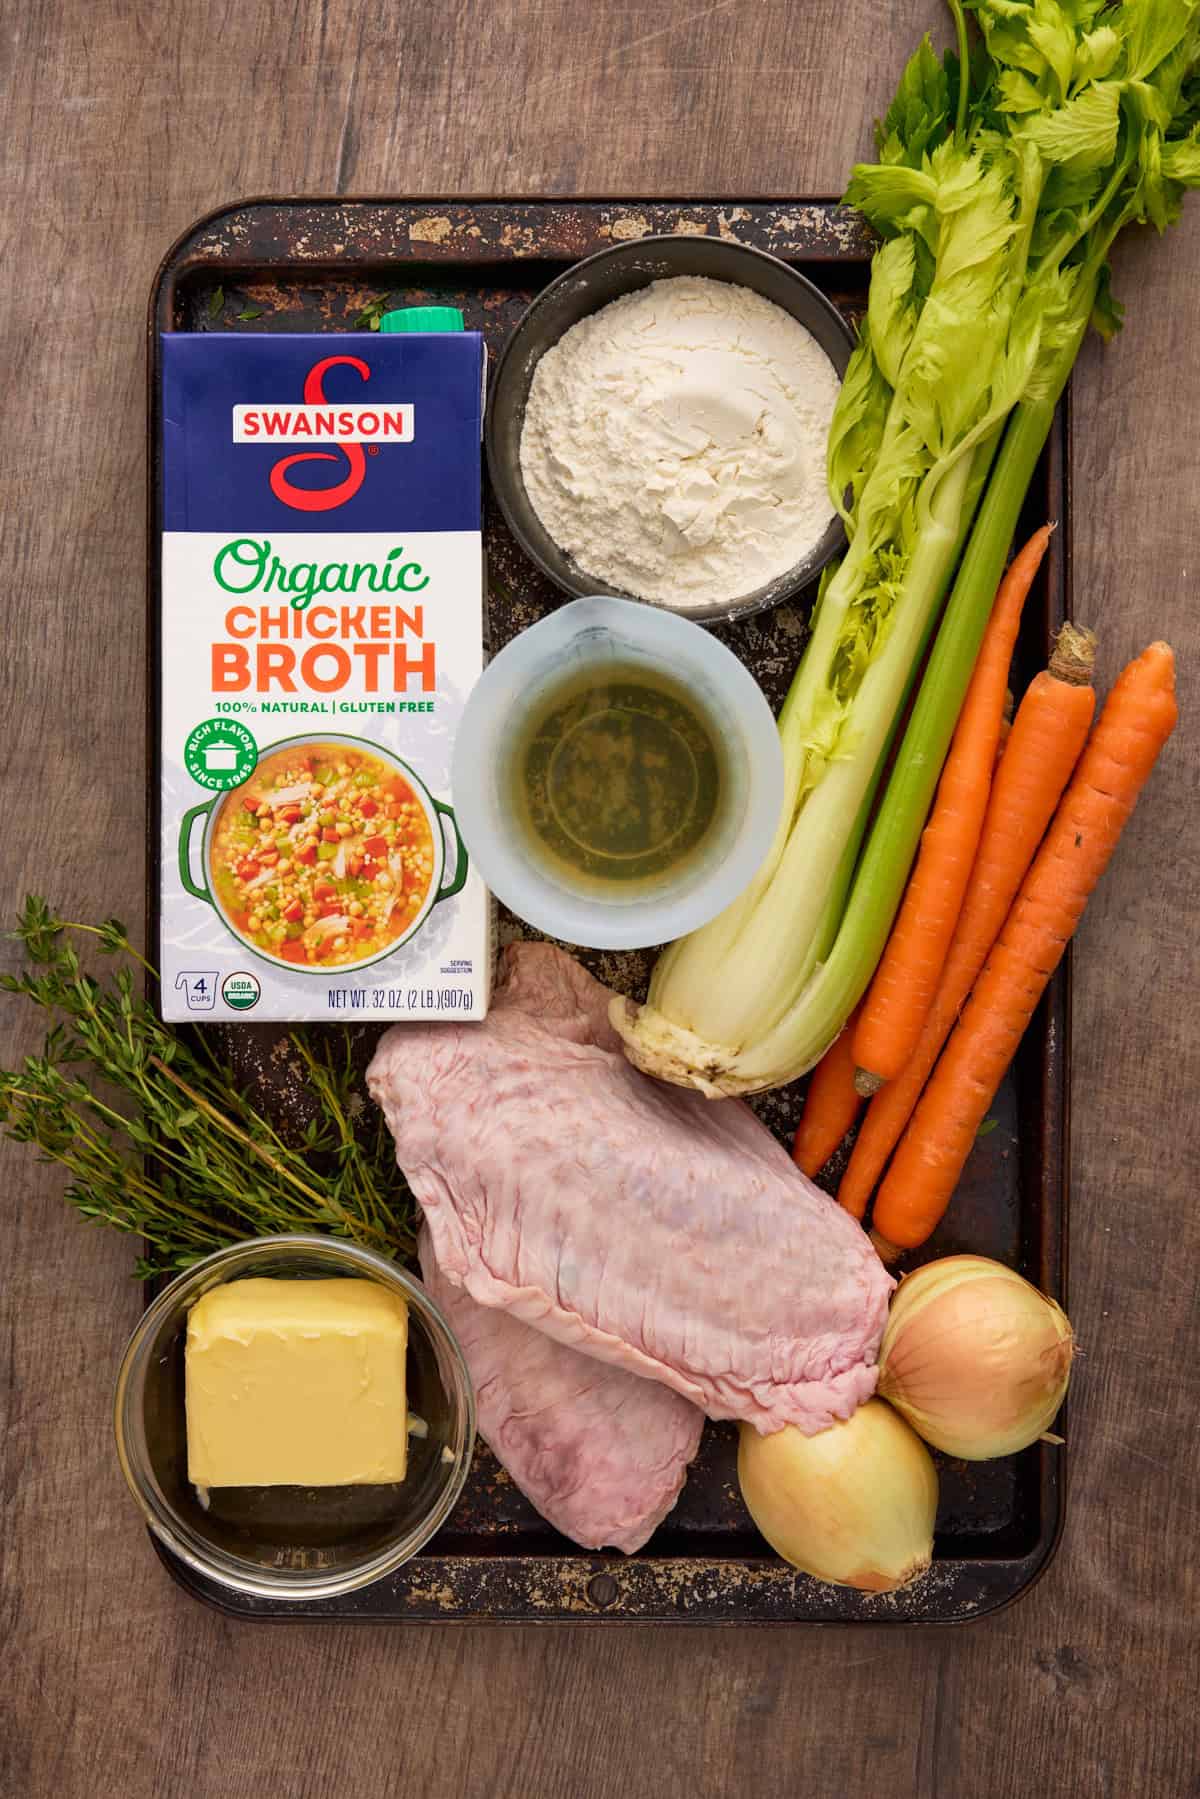
Ingredient Notes
- Turkey Wings: These are readily available in the frozen or refrigerated section of your meat department at the grocery store. If using frozen wings, thaw completely before roasting.
- Carrots: Leave the skin on for extra flavor.
- Onions: Yellow or sweet onions work great. No need to peel them before adding to the roasting pan.
- Fresh herbs: You can use a poultry mix or just a bunch of fresh thyme.
- White wine: A dry white wine works best. Just use one you enjoy drinking since you'll only need about a cup.
- Chicken broth: Either turkey or chicken broth work great, use what you have on hand.
Instructions
Now that you've gathered all of your ingredients, let's cook this easy make-ahead turkey gravy.
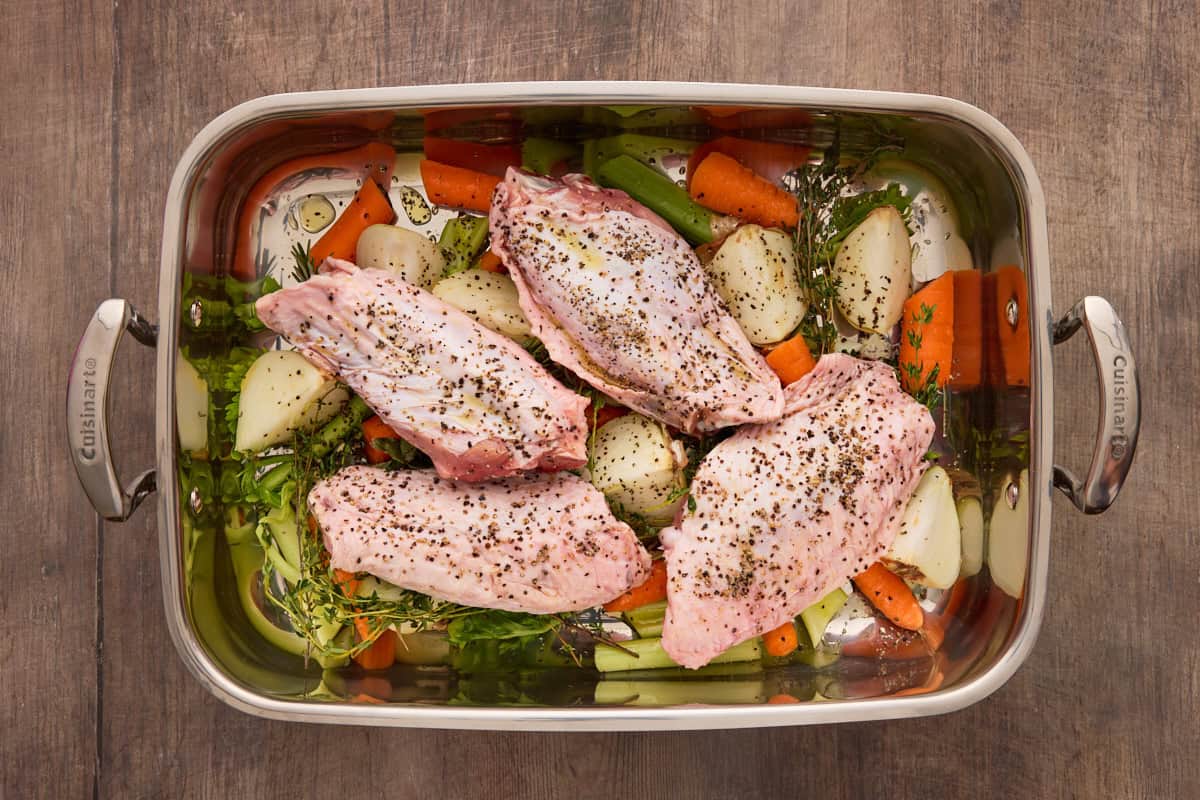
- Step 1: Drizzle the bottom of a roasting pan with olive oil. Cut the onions, carrots and celery into chunks and scatter across the bottom of pan along with the herbs. Set the turkey wings on top of the vegetables and season generously with salt and pepper. Drizzle the top of the turkey wings with remaining olive oil and roast.
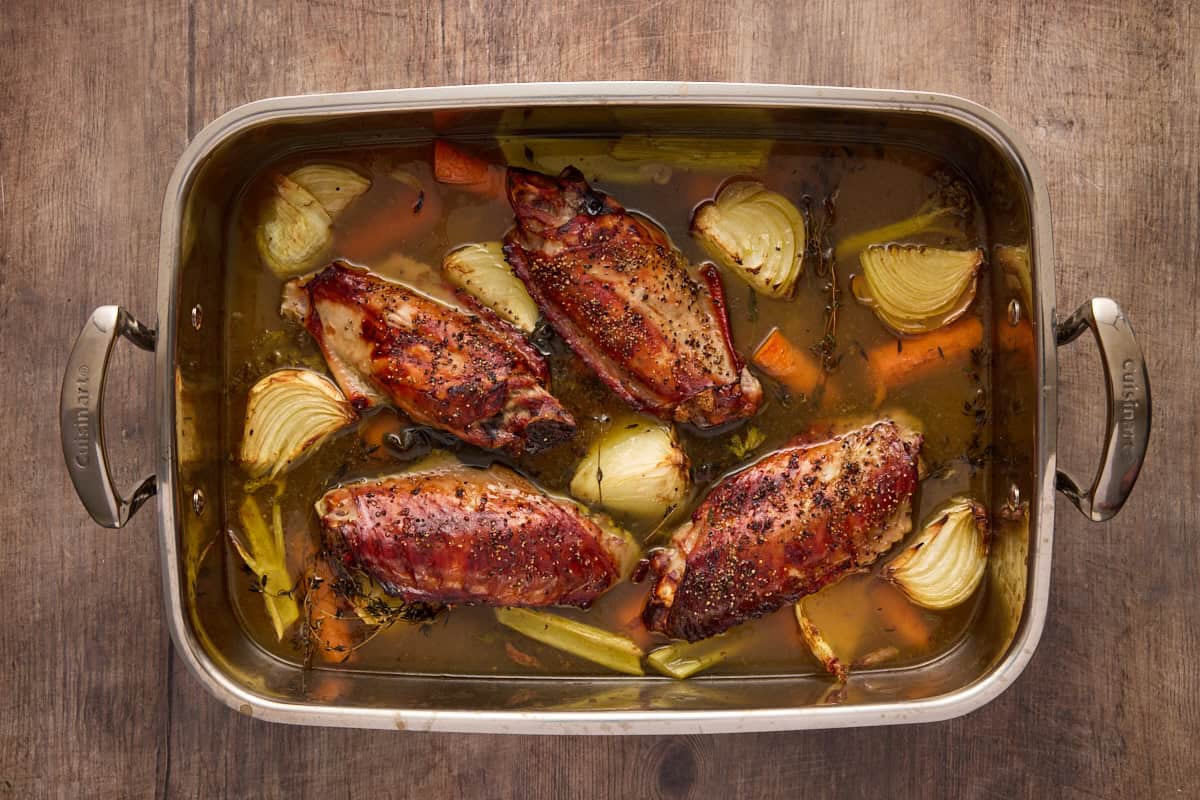
- Step 2: Add the wine to the pan to deglaze being sure to scrape the browned bits off the bottom of the pan to add extra flavor to the gravy. Add broth to pan and return to oven to roast for additional 45 minutes (or until liquid is reduced by half.) Strain out the liquid into a fat separator or sieve set over a large bowl.
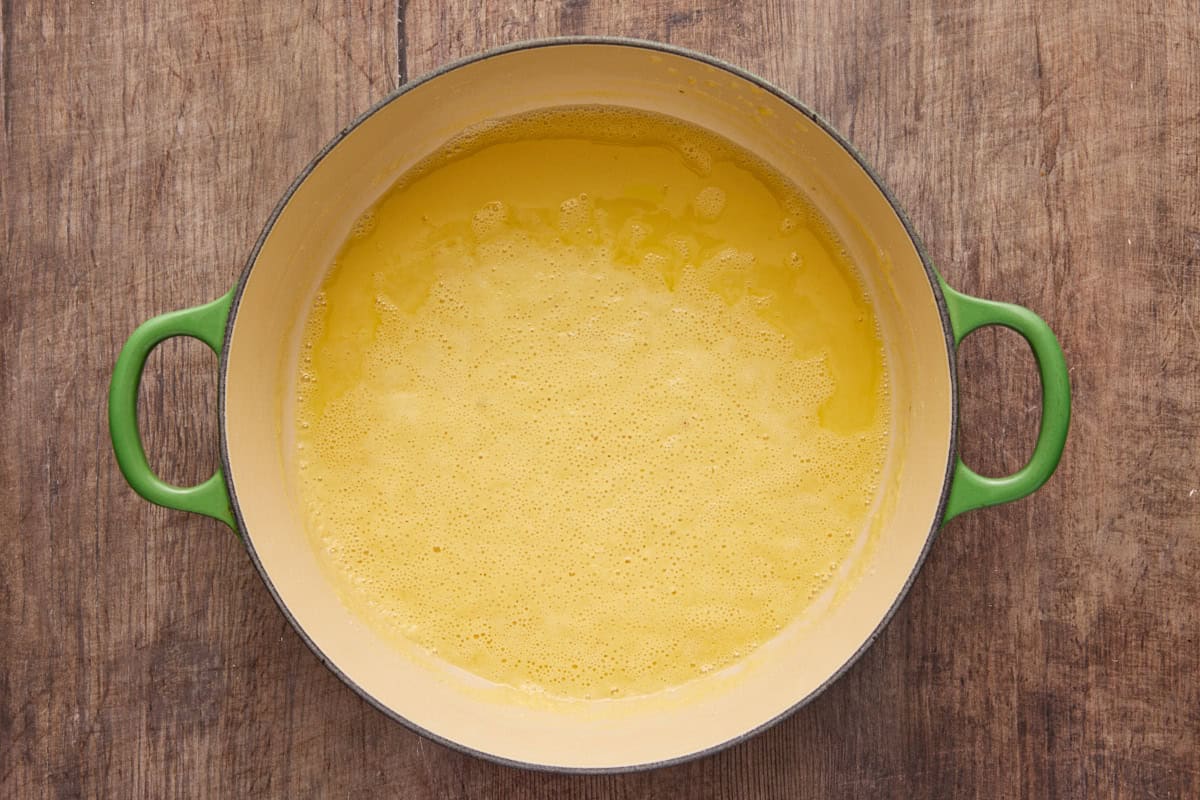
- Step 3: Melt butter in a heavy bottom pan and add the flour, whisking constantly. Cook for two minutes until flour is browned and nutty.
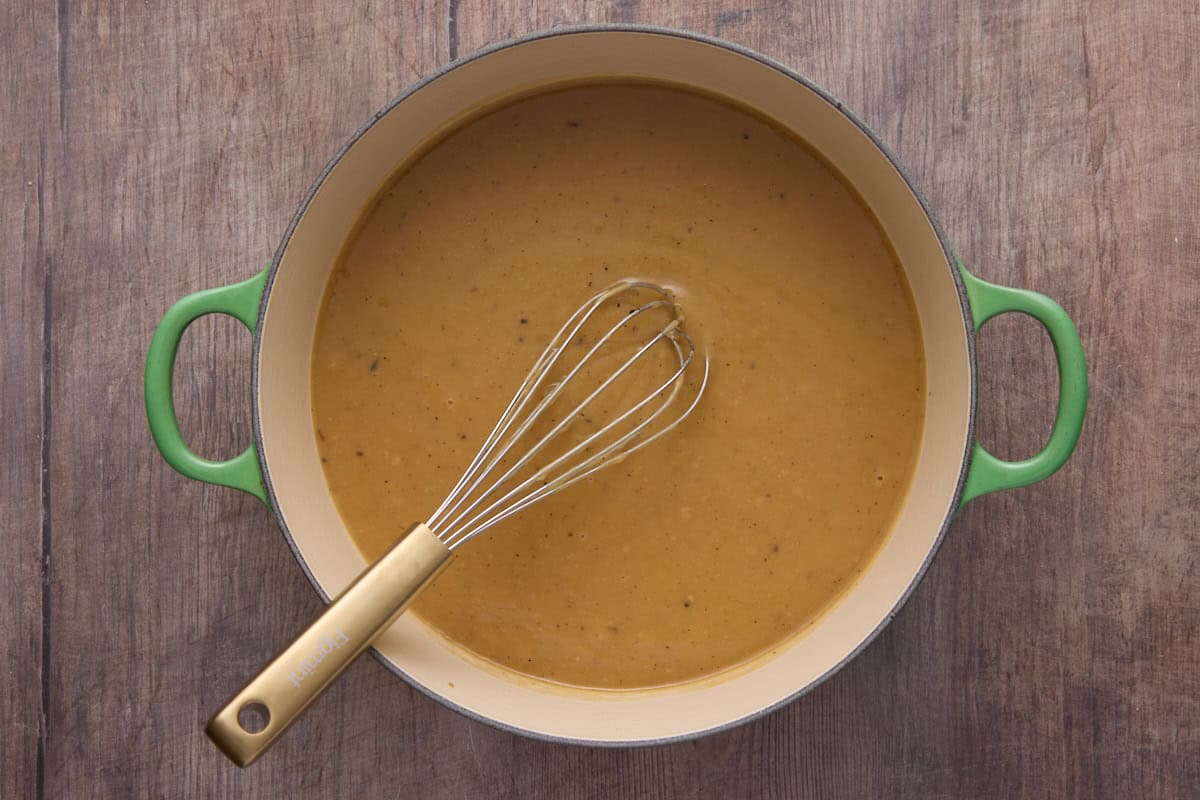
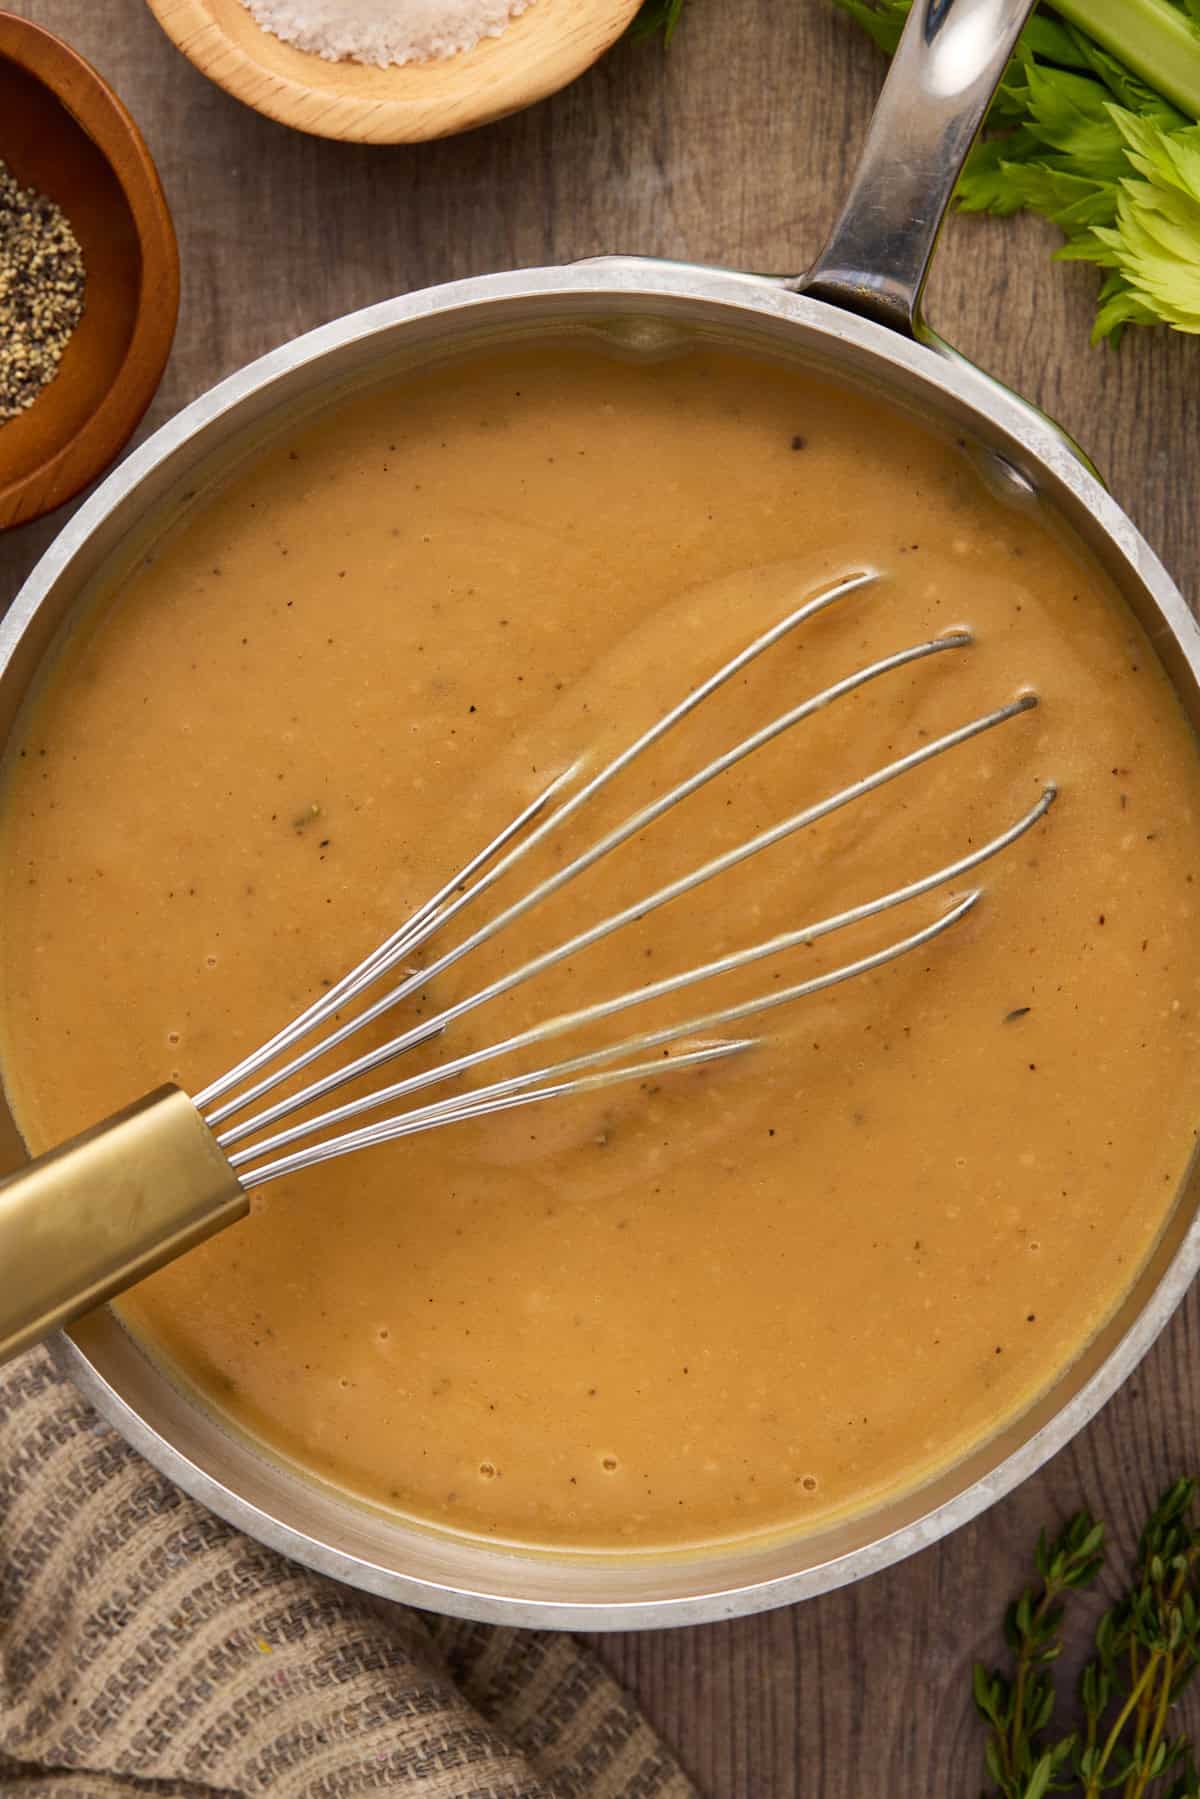
- Step 4: Gradually whisk hot broth in and cook for 20-30 minutes. Cool completely and refrigerate (or freeze) until ready to use.
Hint: A good whisk is the key to smooth gravy. This flat whisk is a workhorse in my kitchen.
Pro Tip
When reheating your make-ahead gravy, whisk in a few tablespoons of warm pan drippings from your roasted turkey to boost the flavor and give it that fresh-from-the-roasting-pan richness.
Storage + reheating
Cool the gravy completely and then store in an air tight container. The gravy will keep for 3 days in the refrigerator and 2 months in the freezer.
When ready to serve, thaw overnight in the refrigerator and gently reheat until warm. Add additional broth if needed to get to the desired consistency.
FAQs
Yes! To make it gluten-free, replace the ½ cup flour with ⅓ cup cornstarch and whisk until smooth before adding the broth.
Absolutely. Legs will add richer flavor but need more cooking time because theyy are fattier. Make sure you skim the fat from the broth before adding it to the roux.
Yes! Let the gravy cool completely, then store it in an airtight, freezer-safe container for up to two months. It will keep for up to two months in the freezer.
Top tips for the best make-ahead gravy
- Roast for rich flavor. Don't skip roasting the turkey parts and vegetables until golden brown. This builds the deep, savory base that sets your gravy apart.
- Deglaze the pan. Use dry white wine (or broth) to loosen all those flavorful browned bits - that's pure flavor gold for your gravy.
- Strain for a silky finish. After simmering, strain the broth to remove any solids for a perfectly smooth, restaurant-style texture.
- Cool before storing. Let the gravy cool completely before refrigerating or freezing. This prevents separation and keeps it silky when reheated.
- Reheat gently. Warm it slowly over low heat, whisking as you go. Add a splash of broth or pan drippings to refresh the flavor and consistency.
- Season at the end. Flavors concentrate as the gravy reduces, so always taste and adjust salt and pepper just before serving.
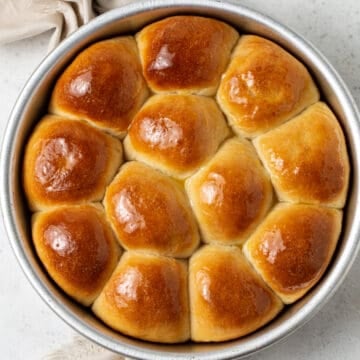
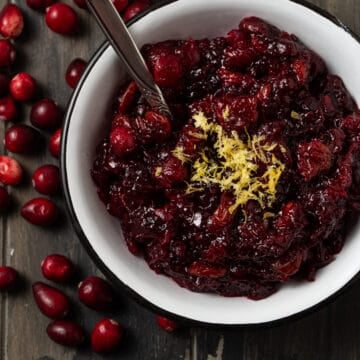
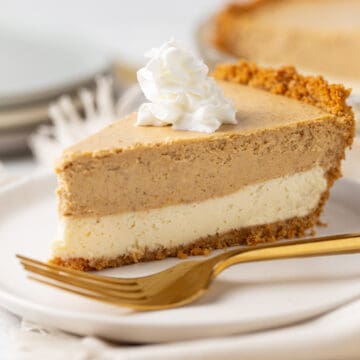
Related RECIPES
Looking for more holiday favorites? Try these other holiday recipes that can be prepped ahead of time.
Made this? Loved it? Tell us everything!
Leave a quick star rating and comment below so we can trade tips and cheer each other on.
Who knows? Your twist might become someone else's new favorite!
Recipe

Make-Ahead Turkey Gravy
Equipment
Ingredients
- ⅓ cup olive oil divided
- 3 onions, quartered
- 6 stalks celery, chopped in 2" chunks
- 4-5 carrots, chopped in 2" chunks
- 1 bunch fresh thyme
- 2 pounds turkey wings
- ¾ cup white wine
- 8 cups chicken broth
- 8 tablespoons butter
- ½ cup flour
Want to save this recipe?
By signing up, you'll join our email list and can unsubscribe at any time.
Instructions
- Preheat oven to 400°F.
- Drizzle the bottom of the roasting pan with 2 tablespoons of olive oil. Scatter the onions, celery, carrots and thyme in the bottom of the roasting pan. Lay the turkey wings on top and season well with salt and pepper. Pour the remaining olive oil oven the turkey wings and place in the oven.⅓ cup olive oil, 3 onions, , 6 stalks celery, , 4-5 carrots, , 1 bunch fresh thyme, 2 pounds turkey wings
- Roast turkey wings and vegetables for 45 minutes to one hour or until turkey wings are golden brown.
- Add wine to deglaze pan and scrape browned bits off the bottom. Pour chicken broth into pan. Roast for additional 30- 45 minutes or until liquid is reduced by half.¾ cup white wine, 8 cups chicken broth
- Remove wings from pan and save for another use. Pour remaining contents of roasting pan (liquid and vegetables) into a strainer set over a large bowl or fat separator.
- Melt butter in a heavy bottom pan over medium heat. Add flour to pan, whisking constantly. Cook for 2 minutes until golden brown.8 tablespoons butter , ½ cup flour
- Slowly add broth from bowl/fat separator and whisk constantly to avoid lumps. Cook for 30 minutes until thickened. Season with salt and pepper to taste.
- Cool completely and store in an airtight container.
Notes
Ingredient Notes:
- Turkey Wings: These are readily available in the frozen or refrigerated section of your meat department at the grocery store. If using frozen wings, thaw completely before roasting.
- Carrots: Leave the skin on for extra flavor.
- Onions: Yellow or sweet onions work great. No need to peel them before adding to the roasting pan.
- Fresh herbs: You can use a poultry mix or just a bunch of fresh thyme.
- White wine: A dry white wine works best. Use one you enjoy drinking since you'll only need about a cup.
- Chicken broth: Either turkey or chicken broth work great, use what you have on hand.
Top tips:
- Roast for rich flavor. Don't skip roasting the turkey parts and vegetables until golden brown. This builds the deep, savory base that sets your gravy apart.
- Deglaze the pan. Use dry white wine (or broth) to loosen all those flavorful browned bits - that's pure flavor gold for your gravy.
- Strain for a silky finish. After simmering, strain the broth to remove any solids for a perfectly smooth, restaurant-style texture.
- Cool before storing. Let the gravy cool completely before refrigerating or freezing. This prevents separation and keeps it silky when reheated.
- Reheat gently. Warm it slowly over low heat, whisking as you go. Add a splash of broth or pan drippings to refresh the flavor and consistency.
- Season at the end. Flavors concentrate as the gravy reduces, so always taste and adjust salt and pepper just before serving.
VIDEO
Nutrition
Nutrition info not guaranteed to be accurate.
Comments
No Comments