
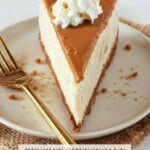
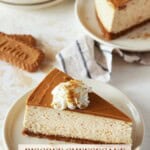
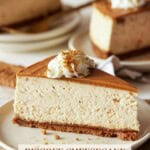

This baked Biscoff Cheesecake is everything I want in a cheesecake: creamy and tangy with warm caramel-cinnamon Biscoff flavor in every bite. Biscoff cookies go into both the crust and filling, while a smooth layer of cookie butter finishes the top. It slices beautifully after an overnight chill and can be made up to two days ahead, making it especially good for holidays and entertaining.

Want to save this recipe?
By signing up, you'll join our email list and can unsubscribe at any time.
What Makes This Different
- Biscoff flavor, classic cheesecake texture. Unlike many Biscoff cheesecakes that mix cookie butter directly into the batter, this version uses crushed Biscoff cookies to flavor the filling while keeping it creamy, tangy and unmistakably cheesecake.
- Save the cookie butter for the top. Spreading it over the chilled cheesecake gives you a more concentrated hit of that caramelized Biscoff flavor in every bite.
- It's designed for making ahead. Cheesecake needs an overnight chill anyway, and this one can be baked up to two days before serving. One less dessert competing for oven space when you're hosting.
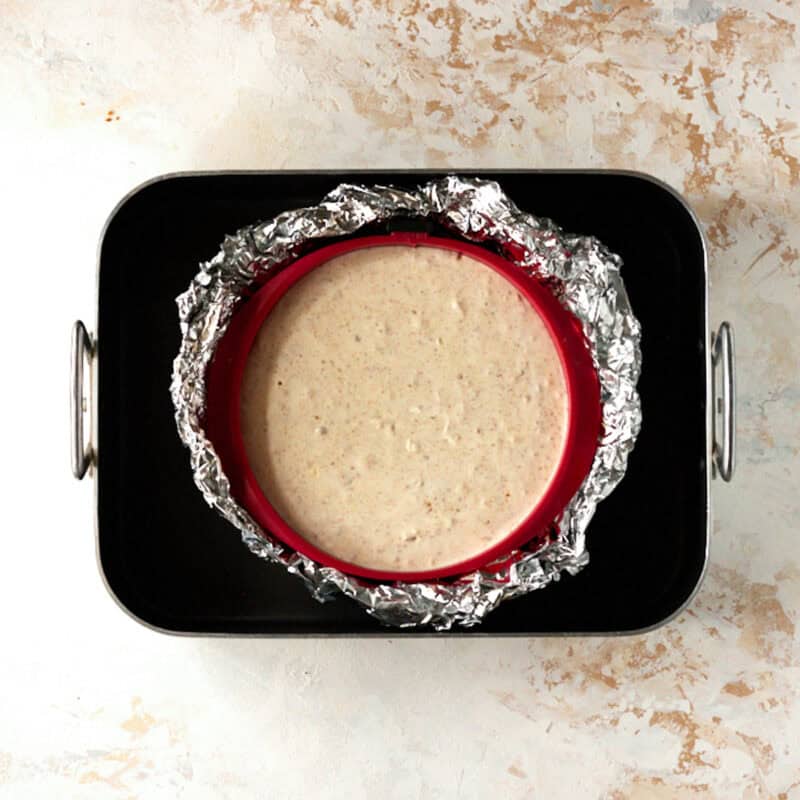
- The water bath is worth the extra step. It simply means setting the foil-wrapped springform pan inside a larger pan of hot water. That gentle, even heat helps the cheesecake bake evenly so the edges don't overcook before the center sets.
Jump to:
Ingredients

- Biscoff cookies: These cookies do double duty here. Most become the crust, while ¾ cup of crumbs goes into the cheesecake filling. Their caramelized, lightly spiced flavor is what gives this cheesecake its distinctive Biscoff taste. Process them until finely ground so the crust presses evenly together. No food processor? Seal the cookies in a zip-top bag and crush them with a rolling pin. Note: you can use graham crackers for the crust, but I wouldn't unless you need to. They work structurally, but you lose one of the layers of Biscoff flavor that makes this cheesecake worth making.
- Full-fat cream cheese: Use full-fat block cream cheese for the best texture. I prefer Philadelphia because I find it consistently smooth and reliable for cheesecake. Whatever brand you use, let it come completely to room temperature before mixing. Cold cream cheese won't blend smoothly and can leave lumps in the finished filling.
- Full-fat sour cream: Sour cream adds creaminess and the slight tang that keeps the cheesecake from tasting too sweet.
- Granulated sugar: There's less sugar here than in many cheesecake recipes because the cookies and cookie butter bring plenty of sweetness on their own.
- Butter: Melted butter holds the cookie crust together. Salted or unsalted both work.
- Eggs: Room-temperature eggs incorporate more smoothly into the filling. Once they're added, mix only until combined so you don't beat excess air into the batter.
- Vanilla extract: Just enough to flavor the cheesecake without competing with the Biscoff.
- Biscoff cookie butter: This goes on top after the cheesecake has chilled. Warming it briefly makes it much easier to spread into a smooth layer.
How to Make Biscoff Cheesecake
Most of the time involved with this cheesecake is hands-off cooling and chilling, so plan to make it at least a day before you want to serve it.
Note: You'll need a 9" springform pan for this recipe as well as a larger pan that the springform pan can nestle into for the water bath. I used my roasting pan for this but any pan that's larger than the springform pan will work.
Make the Biscoff Crust
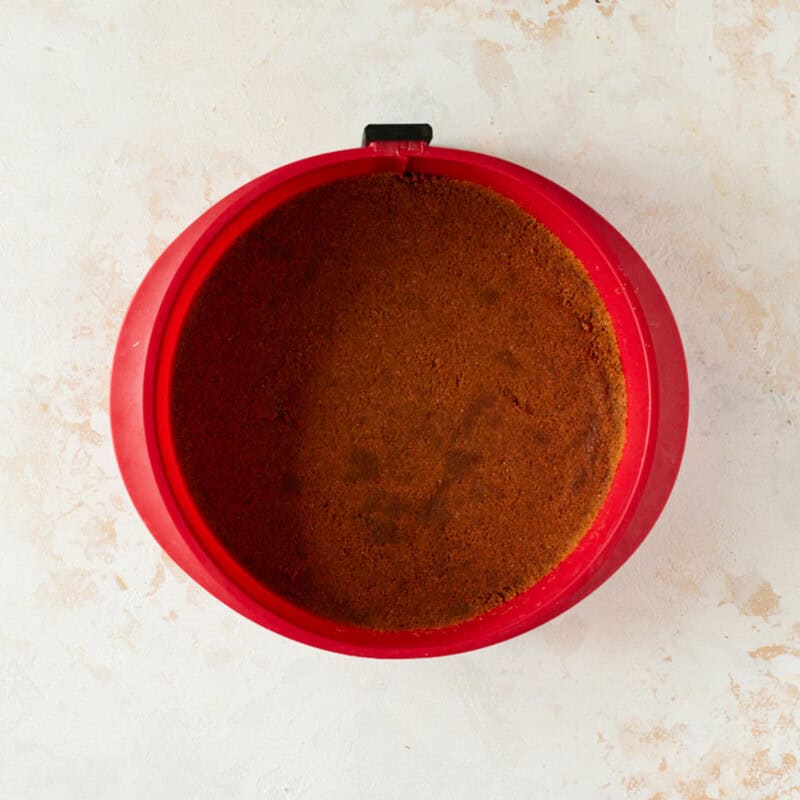
Process the cookies into fine crumbs, reserve ¾ cup for the filling, then mix the rest with melted butter and 1 tablespoon sugar. Press the mixture firmly into the springform pan and refrigerate while you make the filling.
Make the cheesecake filling
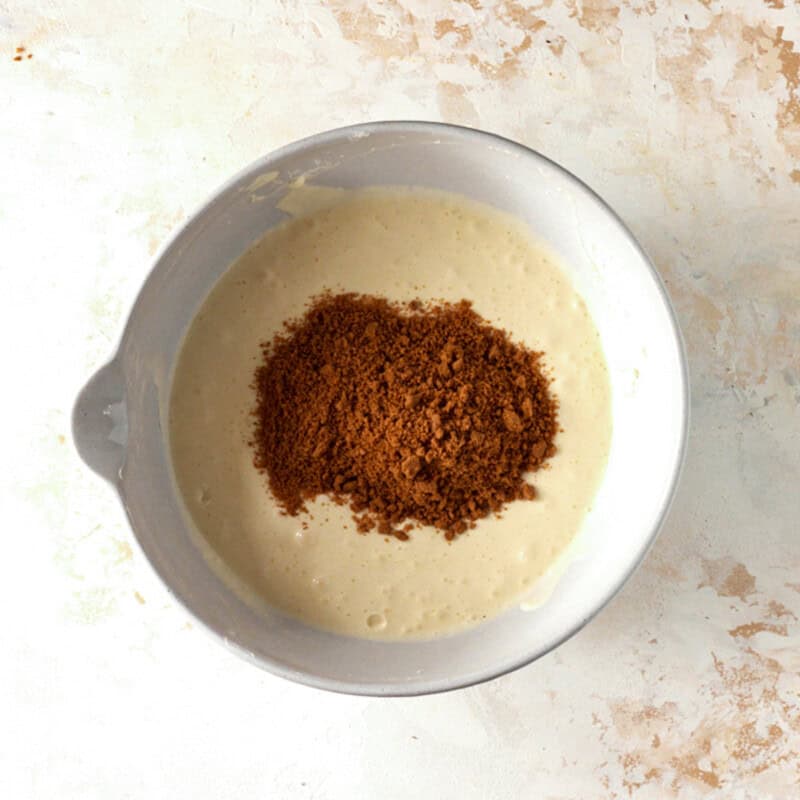
Beat the cream cheese and sugar until completely smooth, then add the sour cream and vanilla. Mix in the eggs just until blended, then stir the reserved Biscoff crumbs into the batter by hand.
Set up the water bath
Wrap the springform pan snugly in three layers of heavy-duty foil and place it inside a larger roasting pan. Add hot water until it comes about halfway up the sides of the springform pan.
Bake and cool slowly
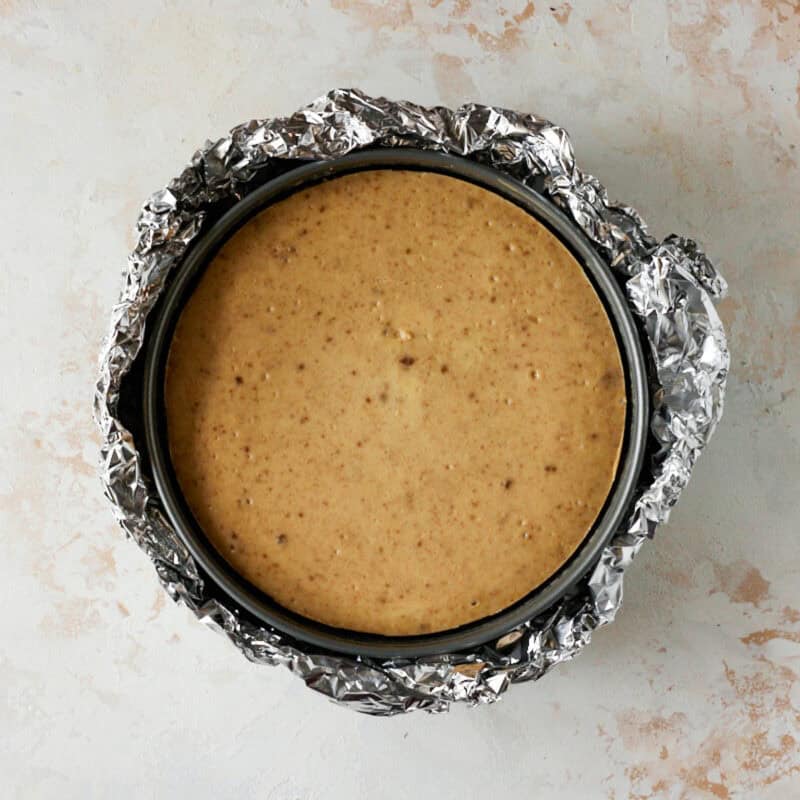
Bake until the edges are set and a 2- to 3-inch area in the center still has a gentle wobble. Turn off the oven, prop the door open and let the cheesecake cool inside for an hour before chilling overnight.
Top with Cookie Butter
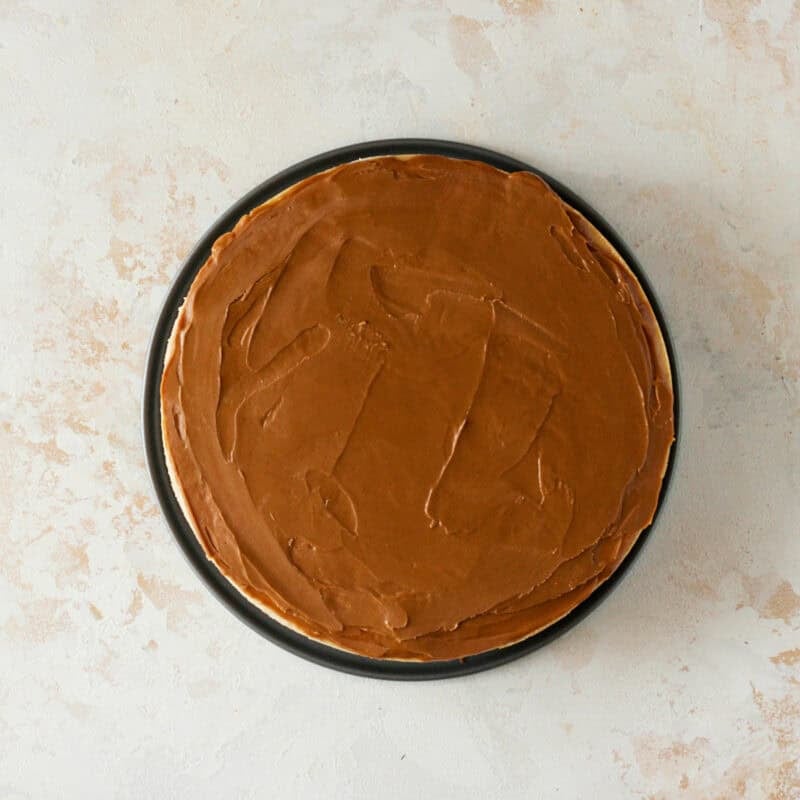
Once the cheesecake is thoroughly chilled, remove the springform ring. Warm the cookie butter just until spreadable, then smooth it evenly over the top before serving.

Before You Make This
- Give the ingredients time to come to room temperature. Cream cheese, sour cream and eggs blend much more smoothly when they're all at a similar temperature. Cold cream cheese is especially stubborn; once those little lumps are in the batter, they're difficult to get rid of without overmixing everything else.
- Once the eggs go in, mix just until combined. Beating the batter aggressively at this stage incorporates extra air, which can make the cheesecake puff in the oven and then sink as it cools.
- Don't skip the water bath. Cheesecake does best with gentle, even heat. The hot water surrounding the pan helps keep the edges from baking too quickly while the center catches up, which gives you a creamier texture and reduces the chances of cracks or a sunken center.
- Wrap the springform pan really well. Water will find its way through the seam of a springform pan if you give it the opportunity. I use three snug layers of heavy-duty foil around the outside of the pan to protect the crust. If you see a little moisture between the foil and pan afterward, that's often just condensation rather than a leak.
- You don't need as much water as you think. Fill the roasting pan only about ¼ full before adding the cheesecake. Once the springform pan goes in, the water level will rise and should come about halfway up the sides of the pan.
- Trust the jiggle more than the clock. At the end of baking, the outside of the cheesecake should look set while a 2- to 3-inch area in the center still has a gentle wobble when you nudge the pan. That center will continue to set as the cheesecake cools. If the entire cheesecake looks firm in the oven, you've probably gone too far.
- Cool it slowly. Avoid opening the oven while the cheesecake is baking, and don't skip the hour-long cool-down in the turned-off oven with the door barely propped open. Gradually bringing the temperature down helps protect that smooth, creamy texture and reduces sudden sinking or cracking.
- And if it cracks anyway? That's what the cookie butter topping is for. No one will ever know.
How to Get Clean Cheesecake Slices
Make sure the cheesecake is thoroughly chilled before you try to slice it. An overnight chill gives the filling time to fully set and makes a big difference in getting neat, defined slices.
For the cleanest cuts, run a sharp knife under hot water, wipe it completely dry and make one cut. Rinse, heat and dry the knife again before every slice.
It's a little tedious, but it works.

Make Ahead and Storage
Make ahead: This cheesecake needs at least 8 hours in the refrigerator before slicing, so making it the day before is ideal. You can bake it up to 2 days before serving and keep it covered in the refrigerator. Add the cookie butter topping closer to serving.
Refrigerator: Cover leftover cheesecake and refrigerate for 3 to 4 days.
Freezer: Freeze the cheesecake without the cookie butter topping. Wrap it tightly in foil and freeze for up to 3 months. Thaw overnight in the refrigerator before adding the cookie butter and serving.


Made this? Loved it? Tell us everything!
Leave a quick star rating and comment below so we can trade tips and cheer each other on.
Who knows? Your twist might become someone else's new favorite!
Recipe

Biscoff Cheesecake

Ingredients
- 12 ounces Biscoff cookies (about 1 ½ packages)
- ¾ cup plus one tablespoon granulated sugar, divided
- 5 tablespoons unsalted butter, melted and slightly cooled
- 32 ounces full-fat cream cheese, room temperature
- ¾ cup full-fat sour cream, room temperature
- 1 teaspoon vanilla extract
- 4 large eggs, room temperature
- 1 cup Biscoff Cookie Butter
Want to save this recipe?
By signing up, you'll join our email list and can unsubscribe at any time.
Instructions
Prepare the water bath:
- Grease the inside of a 9-inch springform pan. Wrap the outside tightly with three layers of heavy foil, pressing it snugly up the sides.
- Place a roasting pan on the middle rack of the oven and fill it with about ¼ full with hot water. Preheat the oven to 325°F.
Make the crust:
- Add the Biscoff cookies to a food processor and process until finely ground with no large pieces remaining. Remove ¾ cup of crumbs and reserve for the filling.12 ounces Biscoff cookies
- Add 1 tablespoon sugar and the melted butter to the remaining crumbs. Process until evenly moistened and the mixture holds together when pinched.5 tablespoons unsalted butter, melted and slightly cooled, ¾ cup plus one tablespoon granulated sugar, divided
- Press the crumb mixture evenly into the bottom of the prepared pan using the bottom of a glass or measuring cup. Refrigerate while you prepare the filling.
Make the filling:
- Beat the cream cheese and remaining ¾ cup sugar until completely smooth and creamy, about 2 minutes. Stop once or twice to scrape down the sides and bottom of the bowl so no lumps are hiding underneath.32 ounces full-fat cream cheese, room temperature, ¾ cup plus one tablespoon granulated sugar, divided
- Beat in the sour cream and vanilla until smooth, scraping the bowl again as needed. Add the eggs and beat until just blended. Do not overmix once the eggs are added. The batter should look thick, silky and creamy.¾ cup full-fat sour cream, room temperature, 1 teaspoon vanilla extract, 4 large eggs, room temperature
- Stir in the reserved ¾ cup Biscoff crumbs by hand, scraping the sides and bottom of the bowl as you fold so the crumbs are evenly distributed. The finished batter should be creamy and speckled with cookie crumbs.12 ounces Biscoff cookies
Bake and cool:
- Pour the batter into the prepared pan and smooth the top. Carefully set the springform pan inside the roasting pan so the hot water surrounds it and comes about halfway up the sides.
- Bake for 75 minutes, or until the edges are set and a 2- to 3-inch area in the center still gently wobbles when you nudge the pan.
- Turn off the oven and prop the door open with a wooden spoon. Let the cheesecake cool in the oven for 60 minutes.
- Remove the cheesecake from the water bath and take off the foil. Cool completely at room temperature, then cover and refrigerate for at least 8 hours.
Top and serve:
- Once thoroughly chilled, run a thin knife around the edge of the cheesecake if needed and remove the sides of the springform pan.
- Gently warm the cookie butter in the microwave until loose and spreadable. Spread evenly over the cheesecake. Garnish with whipped cream and additional Biscoff cookie crumbs, if desired.1 cup Biscoff Cookie Butter
Notes
- For the smoothest filling, start with room-temperature cream cheese, sour cream and eggs. I prefer Philadelphia full-fat block cream cheese for its consistently creamy texture.
- Once the eggs are added, mix just until blended. This helps keep excess air out of the batter and gives you a smoother cheesecake.
- Wrap the springform pan snugly in three layers of heavy-duty foil before placing it in the water bath. The foil helps keep water from seeping into the pan and making the crust soggy.
- Look for set edges with a gentle wobble in the center when the cheesecake is done. Let it cool slowly in the turned-off oven, then chill for at least 8 hours before slicing.
- This cheesecake can be made up to 2 days ahead. For the cleanest slices, serve it well chilled and use a hot, dry knife between cuts.
VIDEO
Nutrition
Nutrition info not guaranteed to be accurate.
Comments
No Comments